

Teaching Bird ID
Beginning birding with your students? Check out these tips!
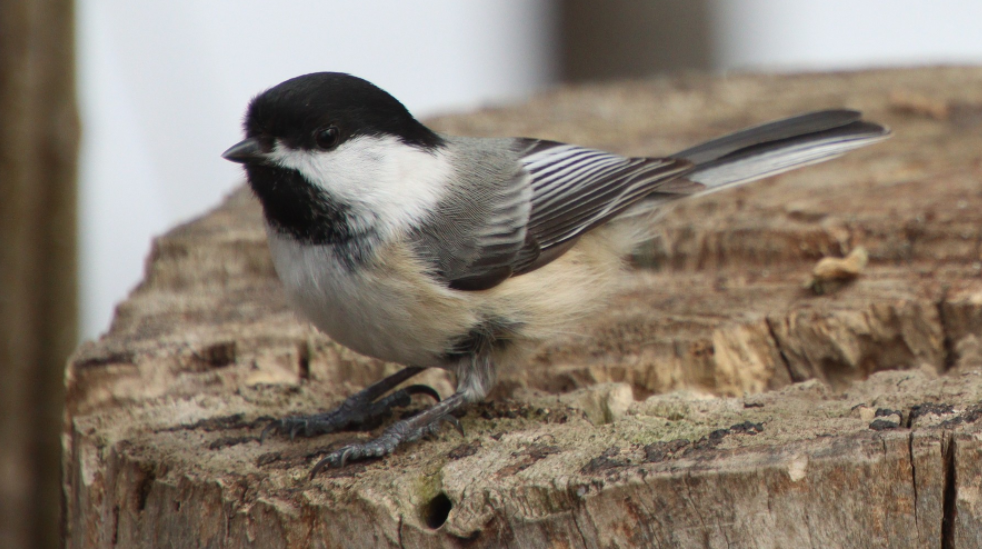
A tiny, round bird perches just outside your classroom window. It has a black “cap” atop its little head, white “cheeks,” a short bill, and a long, narrow tail. If your school is located in a northern region of North America, your students have surely seen this bird many times. But do they know what it is?
Birds are a part of every child’s life, even if only as a part of the background. By teaching your students how to identify some birds, you can help make them more aware of your local biological diversity and more attentive to your local environment in general. Kids love gaining knowledge to apply (and even show off!). To add to the excitement, your students can use their bird ID skills to collect valuable data for real scientists through citizen-science projects!
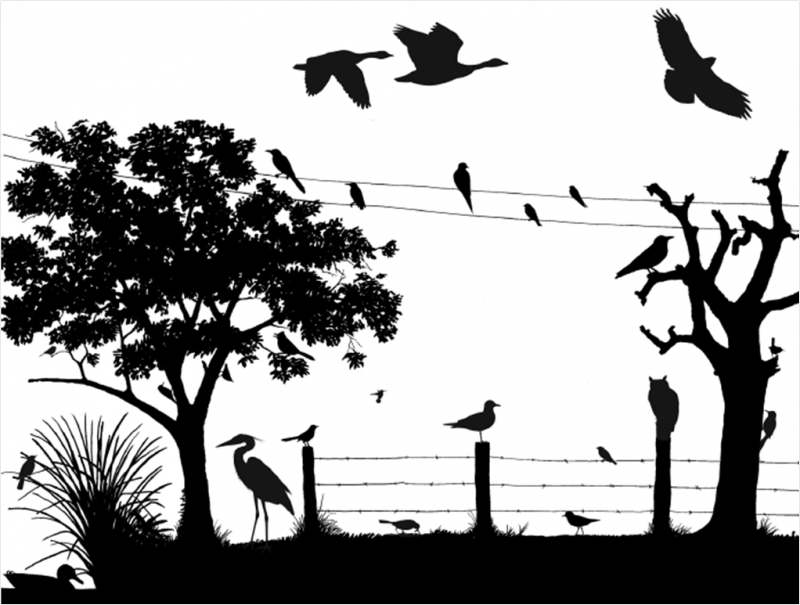
Bird identification is not nearly as daunting as it sounds. It’s like any other skill: practice will make you better. It’s best to start at the beginning and gradually build your students’ knowledge of birds and bird traits. One of the great things about getting started is that everyone has some kind of basic knowledge of birds. Birds are everywhere! Even if you are a beginning birder, you can probably recognize at least several of the birds in this image:
There are a lot of different species of birds out there—about 10,448, in fact—but don’t let this immense diversity overwhelm you!
Here are five tips for turning your students into budding young birders!
1. Start with the GROUPS of birds: Have students make a list of all the birds they can think of to start, then look at birds they already know and compare and contrast them. Find pictures of local birds (or order our Bird ID Cards) and show them to your students. Sort the birds you know into groups: Did you name any hawks? Songbirds? Shorebirds? Owls?
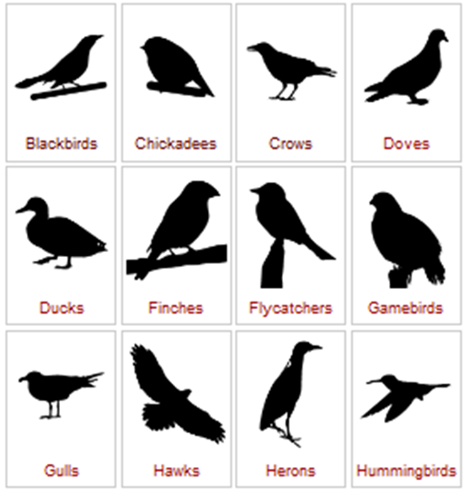
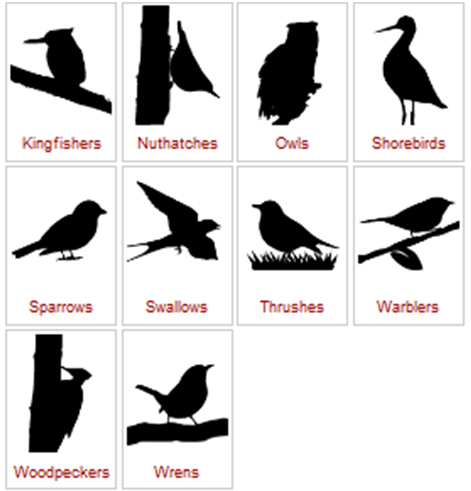
Birds are typically categorized by their shape and physical characteristics. For example, shorebirds have long legs and necks and upright bodies while gulls have short necks and are about as long as they are tall. Dividing birds into groups is an important skill, especially if you plan to use field guides for identification. Field guides group birds by their relatedness to each other, so if you can decide which group a bird is in, you will more easily be able to use field marks to determine which species you are looking at. You can find silhouettes like those seen above at the front of almost any field guide.
Keep in mind that even if you or a student can’t quite identify a bird to species, narrowing your identification down from “bird” to “songbird” or “raptor” is an important step. A good place to start is simply to give some background on the general categories of birds. In North America, some of the major categories that most kids recognize include (1) woodpeckers, (2) owls, (3) birds of prey or raptors, (4) ducks, (5) geese (6) shorebirds. Then, reviewing the different parts of a bird and noticing field marks becomes useful.
2. Become a Bird Expert!Give each child in the group one specific bird to focus on. Let your kids become the experts and then let them teach each other! A great way to do this is with Bird ID Cards. These cards provide details and cool facts about some of the most common birds in your area. If each student in your group knows one bird, then collectively you know as many birds as there are people in the group!
Some teachers have also been successful helping students learn bird ID by choosing one or a few “birds of the day” for the students to learn. Consider showing the students the All About Birds page for each bird, so they can hear and see the bird, learn where it lives, and find out “cool facts” about the bird.
3. Observe! Get your students outside or even just looking out the window. If you have a bird feeder nearby or a wooded area take them on a bird walk. Ask everyone to write down and sketch the birds they see. When you return to the classroom, compare notes and have a discussion about what you saw, heard and experienced. You might also want to order a set of Pocket Naturalist guides for your region to aid in identifying the birds.
Once you’ve picked out some common species that you are likely to see in your area, search All About Birds online field guide for details on each species. Teach your group how to identify these birds by silhouette, color pattern (field marks), and calls.
4. Keep learning and thinking. The Lab of Ornithology created four “Inside Birding” videos to help beginners learn how to identify birds. Each of these fun videos is only about 10 minutes long. Watched in sequence, they will give you many tips for how our best birders figure out which-bird-is-which. Beginners will also find our All About Birds “Birding 1-2-3” video tutorials very useful. You can also look into our bird identification app: Merlin. The app is designed to help beginners learn how to separate and identify birds using different clues from the birds and is also totally free!
5. Motivate with citizen science! Even if your bird identification skills aren’t perfect, you can get started, and participating in citizen science is really motivating. Once your students have a working knowledge of birds, get them set up with projects at the Cornell Lab of Ornithology like eBird and Project Feederwatch. Practice makes perfect… please just only count the birds you can reliably identify. For the others… sketch the bird, look it up in a field guide, and try to learn it for next time.
After learning identification details like these, your students would likely have no trouble at all recognizing that black-capped bird out window as a Black-capped Chickadee. You have access to birds and wonderful bird ID resources, so what’s stopping you from teaching your students skills that they can use to make meaningful scientific contributions? For some of your students, birding might even become a lifelong passion, just as it has for many of us here at the Lab of Ornithology.