HubSpot Email Templates
Select the template
- Select Create Email and choose the email type
- Under Select a Template, go to the “Drag and drop” tab
- Select the template “Cornell Lab Email Template”
- A basic template is provided to start with. Remove any unused content.
Two examples of the template being used are Melissa’s Test – DO NOT SEND (Lab eNews) and Melissa’s Test – DO NOT SEND (BA Hummingbirds).
Once you create your first template, you can clone afterwards it to keep any design elements that are unique to your campaigns.

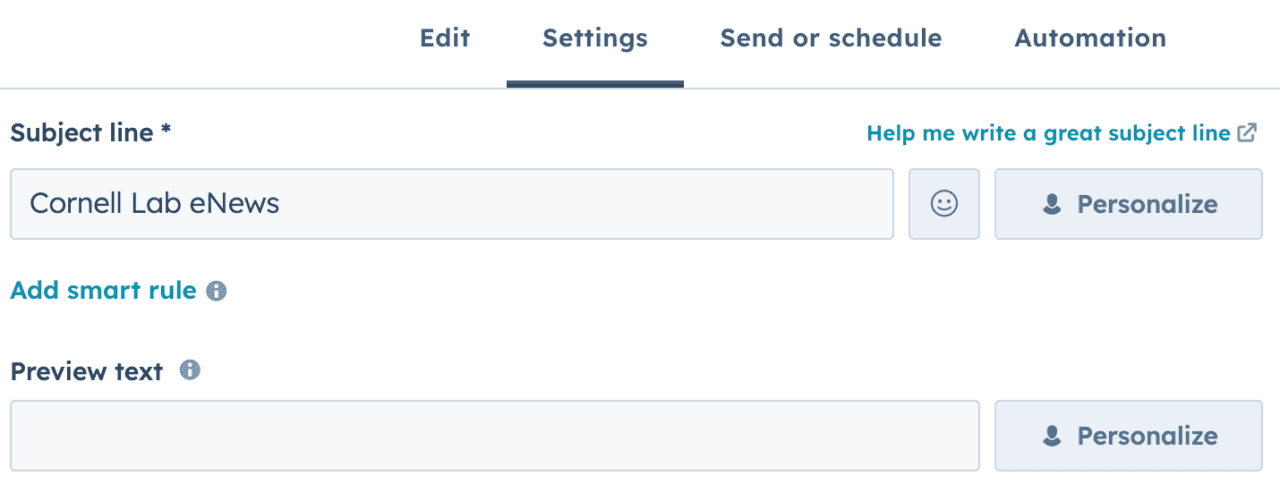
Preview text appears in the inbox after the subject line in most email clients. Even though it is optional, it is good practice to add relevant text here. Find this text under the Subject in the Settings tab.
View in browser link
To activate the “view in browser” feature follow the instructions on Customize email web version link from the HubSpot website. You can keep the default settings on the block that is created.
When cloning an email: The webpage email title is not copied. Be sure to fill out the new webpage title and URL in settings.
Change the logo
- Hover over the logo and select the edit icon
- Select replace over the image
- Choose the correct horizontal logo
- IMPORTANT: Be sure to use the logo lock-ups that are in the “Lab Logos” folder – these have the correct sizing (2x the logo size) and clear space around the logo.
- You may have to click a “View All” link in the image selector to see the folders.
- Make sure the logo has appropriate Alt text – it should say the same text of the logo “Cornell Lab [Project Name]”
- Change the height to “90”
- The link can be updated to the project website
- Leave all other options as is
Partnerships
If your project requires a partner logo in the header, you can use the template called “Cornell Lab w Partner Logo.” This template provides an area to upload a logo strip along with the project name below them.
The logos on this template must be a single image file so that they do not stack on mobile. Please work with a designer to provide this design. Logos should be placed in the “Lab Partner Logos” folder for easy access.

Some projects still use only the Cornell Lab logo in the header. If you require a partner logo within content, we recommend using the Partner Logo Saved Section. See the next header, Saved layout sections, for more information on accessing saved layouts.
The logo should have white space built into the image. Do not forget alt text!
Saved layout sections
Some pre-built layouts are available under “Saved Sections” to help with email display.
- In the left sidebar, go to “Saved Sections” and click “More”
- Drag a layout to the email body – it cannot be dragged into an existing layout
- Be sure to remove any unused content in the section

Article Layouts
There are several different ways to display links to articles. It is recommended to link the headline text to the article or link some words within the article description. You may also want to link the image.
The following article layouts are available (prefixed with LAYOUT):
LAYOUT Featured Article

LAYOUT Article Columns

LAYOUT Article 50-50

LAYOUT Article 30-70

LAYOUT Callout
A callout layout with a background color is also available.
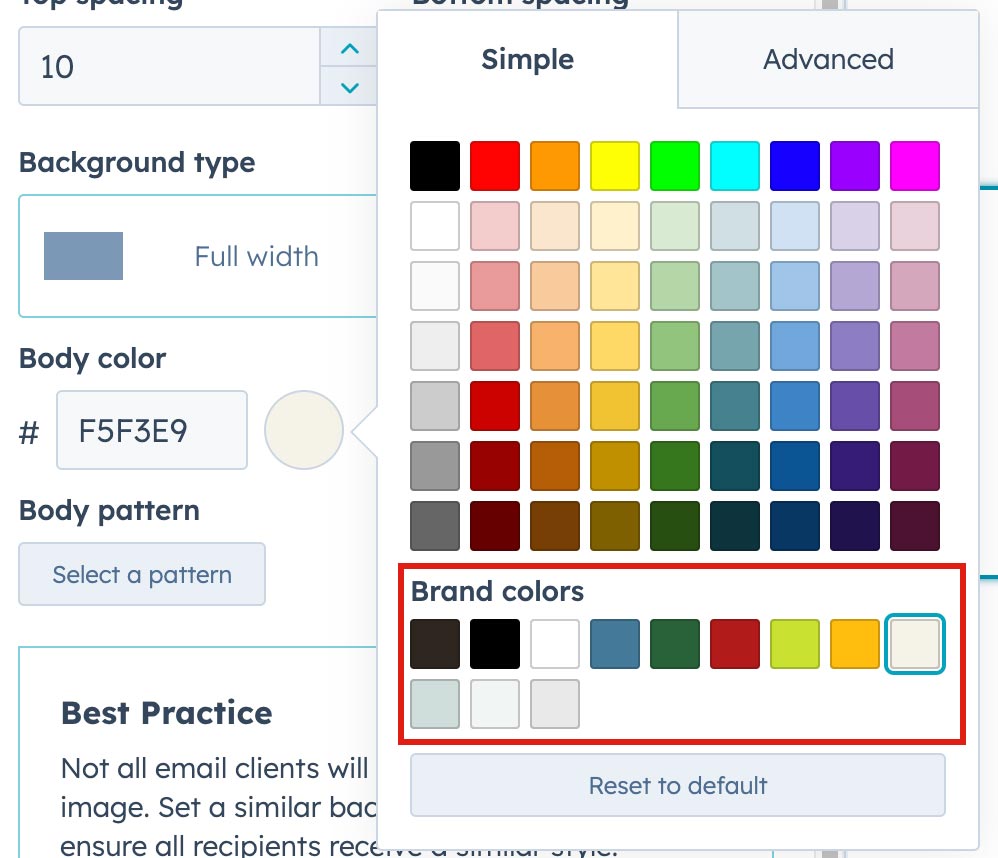
To change the background color, click on the layout and select “Body color” in the sidebar. To stay within our brand, use only the following background colors (these colors are available under Brand colors):
Sand: #F5F3E9
Sand Shade: #DAD5BC
Sky Blue: #D0DDDB
Sky Blue Tint: #F1F5F4
Forest Green: #296239
Ocean Blue: #457999
Warm Black: #2E261F
Black Tint: #6D6762
Gold: #FFBC10
Gold Tint: #FFF3A5
Chartreuse: #C9E231
Chartreuse Tint: #F0F8C3
Be sure to change the font colors to white for darker backgrounds. More color options can be found on our Colors page, but please use them sparingly.

Buttons
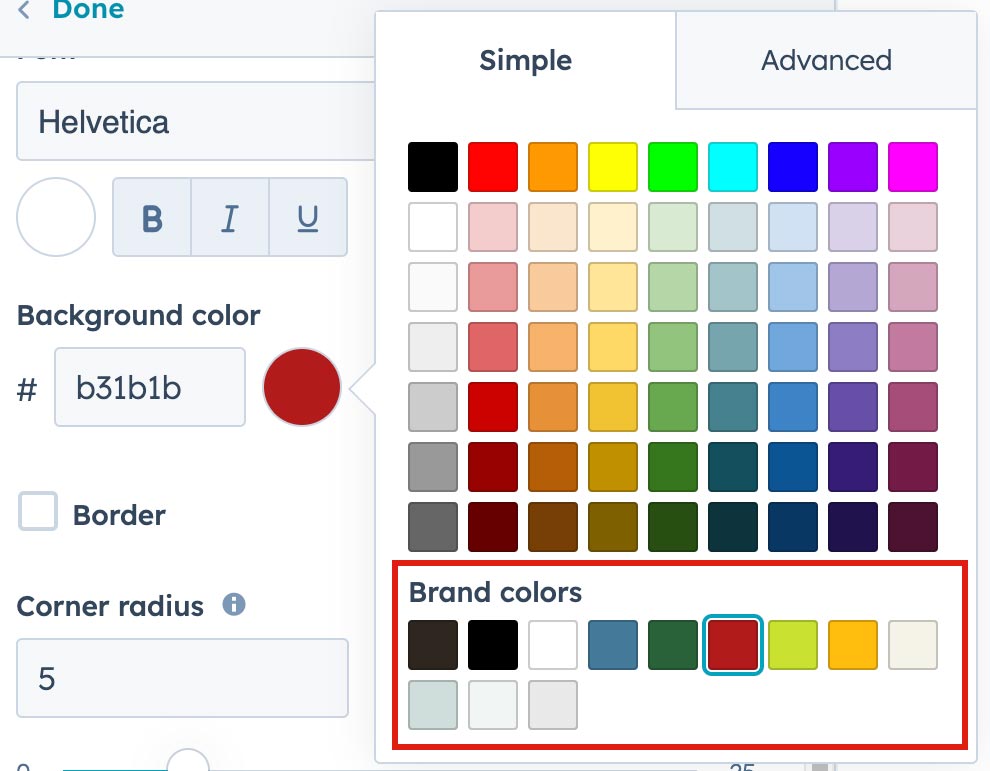
To change the background color of a button, click on the button and select “Background color” in the sidebar. To stay within our brand, use only the following background colors (these colors are available under Brand colors):
Take note of the text colors for the lighter backgrounds (black) vs the text color for the darker backgrounds (white).
Social links
To add social links:
- Add the Social content block, preferably right above the footer
- Next to Social Network, click “Add”
- Select the social site from the Network dropdown
- Add the appropriate URL to the website
