

Attract Birds With Birdbaths
April 20, 2009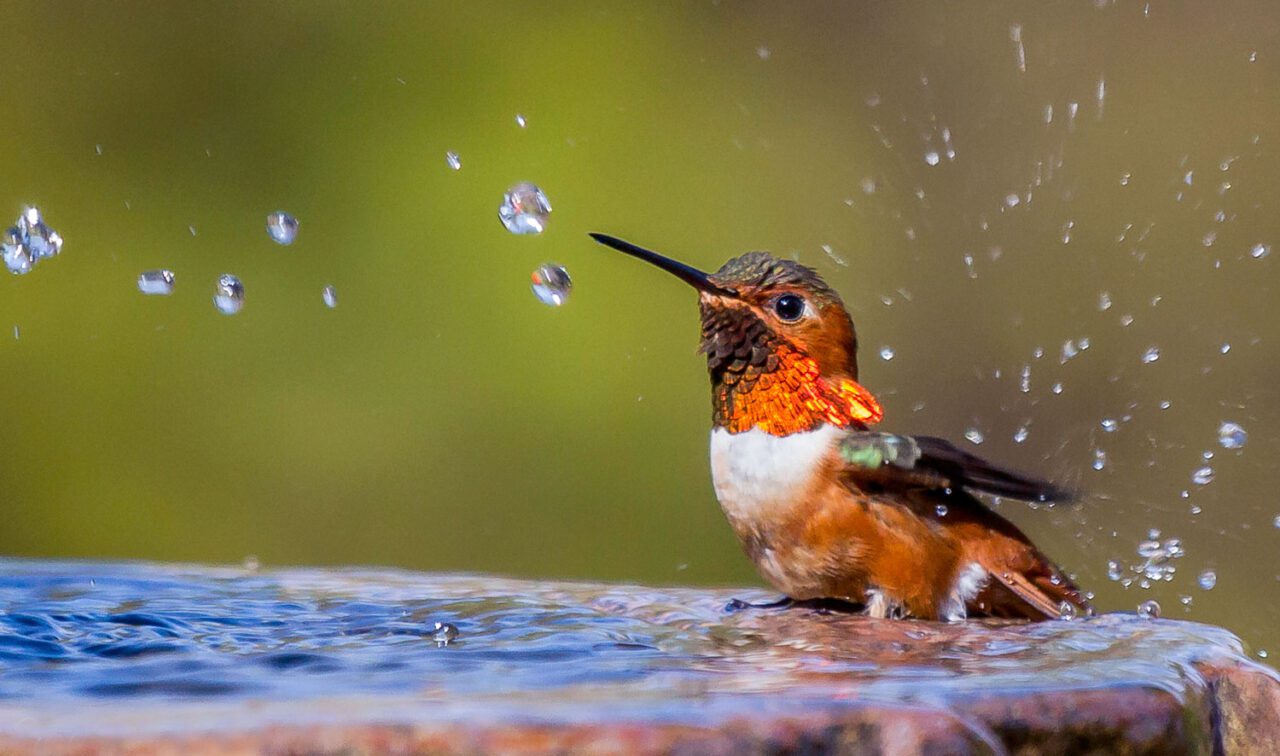
Once you’ve got feeders set up, perhaps the best way to make your backyard more attractive to birds is to just add water. Birds need a dependable supply of fresh, clean water for drinking and bathing. Putting a birdbath in your yard may attract birds that don’t eat seeds and wouldn’t otherwise come to your feeders. (Other ways to attract birds are to supply a roost box and to provide nest material.)
Traditional concrete birdbaths sold in garden shops make nice lawn ornaments, but they aren’t the best type for birds—they’re often too deep, glazed ones may be too slippery, and they’re often hard to clean. Also, they may crack if the temperature drops below freezing. The best birdbaths mimic nature’s birdbaths—puddles and shallow pools of water in slow streams; they’re shallow with a gentle slope so birds can wade into the water. Look for one that won’t break and is easily cleaned.
You can make your own birdbath using a trashcan lid, saucer-type snow sled, shallow pan, or old frying pan.
Setting up your birdbath
Birds seem to prefer baths that are set at ground level, where they typically find water in nature. While birds are bathing they can be vulnerable to predators, especially to cats. If you have a cat, please keep it indoors. If cats are at all likely to be lurking in your neighborhood, make sure there is a fairly wide open area between your birdbath and the nearest thick shrubbery, so birds have a better chance to detect and get away from a cat in time.
Place your birdbath in the shade if possible, to keep the water cooler and fresher. Having trees nearby will also provide branches on which they can preen.
Arrange stones (or branches) in the water so birds can stand on them to drink without getting wet (this is particularly important during freezing weather).
The water should be no deeper than 0.5 to 1 inch at the edges, sloping to a maximum of 2 inches deep in the middle of the bath.
One of the best ways to make your birdbath even more attractive is to provide dripping water. Many birds find the sight and sound of moving water irresistible. You can use a commercial dripper or sprayer, or make your own by recycling an old bucket or plastic container. Punch a tiny hole in the bottom, fill it with water, and hang it above the birdbath so the water drips into the bath.
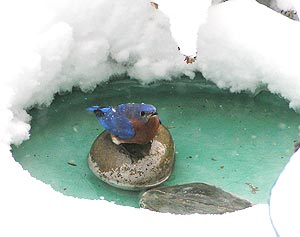
Winter birdbaths
Birds will come to birdbaths year-round, and fortunately keeping yours ice free in winter is not as critical as many people believe. Birds have several physiological mechanisms for conserving water, and can usually get plenty from snow or dripping icicles.
The simplest way to provide water in winter is to set out a plastic bowl at the same time each day, and bring it in when ice forms.
If you do want to keep a birdbath ice-free during subfreezing days, manufacturers now offer birdbaths with built-in, thermostatically controlled heaters. Immersion heaters are also available at most places bird feeders are sold. Most new models turn off if the water in the bath dries up. Ideally, plug your heater into a ground-fault interrupted circuit (available from hardware or electrical supply stores) to eliminate the chance of electric shock.
Related Stories
Never add antifreeze to the birdbath—it is poisonous to all animals, including birds. Don’t use glycerin, either: it can saturate and matt a bird’s feathers leaving it susceptible to hypothermia.
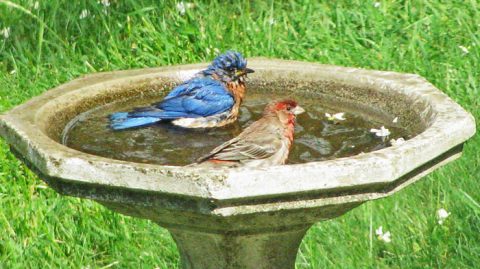
Maintaining your birdbath
When the temperature is above freezing, it’s a good idea to keep your birdbath full at all times to attract the widest numbers and variety of birds. But to provide a safe drinking and bathing environment, it’s important to change the water every day or two. Bathing birds may leave behind dirty feathers and droppings, making the bath increasingly unsanitary for other birds. Grackles often drop their nestlings’ fecal sacs into birdbaths, another cause of filthy water. Algae grows much more quickly when the water isn’t cleaned frequently. Also, the species of mosquitoes most likely to transmit West Nile virus often lay their eggs in bird baths. By frequently changing the water, you won’t give the eggs time to hatch or for the larvae to emerge.
For more information, please see our free PDF download, BirdNotes—Providing Water for Birds.
All About Birds
is a free resource
Available for everyone,
funded by donors like you
American Kestrel by Blair Dudeck / Macaulay Library