

Binoculars for Kids
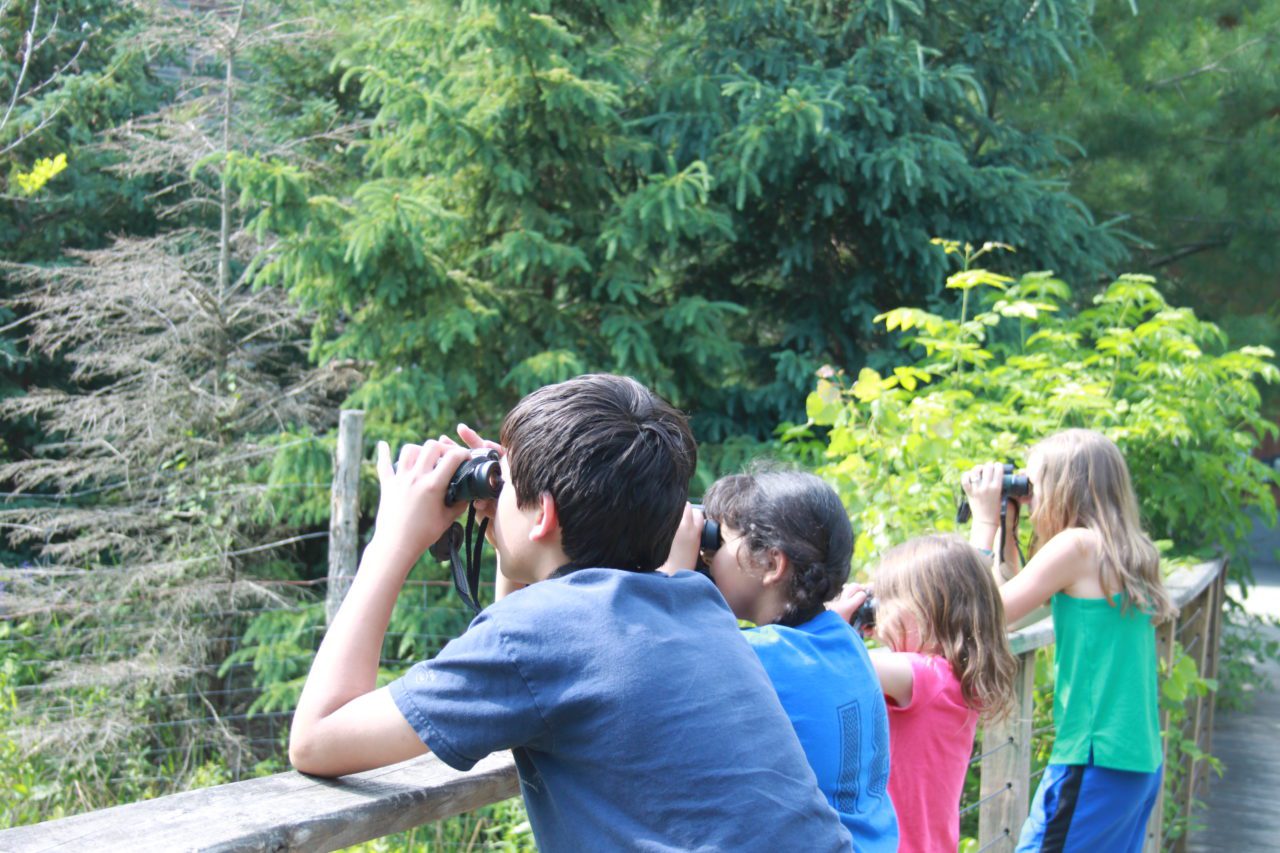
If you’re going outside to birdwatch with young people, you might have questions about how to identify birds and what tools you’ll need. This post explores how to obtain, use, and store a fundamental tool for birdwatching: binoculars. Binoculars can be a fun and useful tool to get kids excited about the outdoors!
Consider investing in binoculars if you get frustrated while birdwatching because the birds are too far away. You might have questions ranging from “which kind should I buy, and how can I afford them?” to “How do we use and store them?” Here are some tips and guidelines for how to get started with using binoculars with young people.
Choosing the right type of binoculars.
Once you start shopping for binoculars, you’ll see they’re described by some combination of numbers, like 8×50 or 10×25. The first number tells you the magnification, and the second number the lens diameter. So what kind of combination should you be looking for?
We recommend a magnification of 7 or 8. Although you may think a greater magnification is better, a lower magnification is best for beginners, especially young people. Lower magnification is best for beginners because it increases your field of view, the area that you see through binoculars. A high magnification reduces your field of view, which may make it difficult to find birds through the binoculars.
Lens sizes between 25 and 40 should work well for you and young kids. Lens diameter is less important but should be considered. Larger lenses will let in more light and provide a brighter, more detailed image. However, large lenses tend to be bulky and expensive. Check out the video below for more details:
You get what you pay for—so try to invest in quality!
There are plenty of cheap plastic binoculars for under $10. While it is tempting to purchase the cheapest option you can find, keep in mind that cheaper binoculars are likely to break quickly and provide a poor image. Instead, buy the best quality binoculars you can afford because it is more likely that you will use them for years. There are a number of good-quality binoculars in the $100-price range, and some even come with a lifetime guarantee. Whatever brand you buy, consider: What is your budget? And is it better for you to spend your budget on fewer but higher-quality binoculars this year?
In 2022, the Cornell Lab of Ornithology released a list of affordable full-size binoculars. These binoculars may still be outside of your price range, these suggestions can be a good place to start when getting a feel for the brands you might want to consider.
Storing and sharing your binoculars.
We’ve gathered tips and tricks for storing and sharing binoculars from many teachers! To make transporting binoculars easy, consider purchasing a toolbox with wheels that can fit on a bus floor between seats or an empty seat for field trips. Additionally, consider removing the binocular cases and lens caps to avoid lost items and easily see the condition of each pair of binoculars without opening individual cases. Many teachers also number the binoculars, caps, and cases and create a sign-out sheet so that each student is responsible for the safe return of all supplies.
Familiarize your students with the parts of binoculars and how to use them.

Binoculars are useful science tools, and students should know how to use and respect them.
Before heading outside, share this helpful Cornell Lab video with your students on adjusting and using binoculars.
You can also show your students the different parts of binoculars with this diagram. Knowing the names of the major parts will be important when you teach them how to adjust and use binoculars.
Taking it Outside
Binoculars are extremely helpful for getting a closer look at birds but are not so helpful for first spotting one. Some students immediately try to raise the binoculars to their eyes and look around for birds, but that’s a mistake. To find a bird, it is best to start by looking for movement with your naked eyes so you have a full field of vision. Once you see a bird that you want to look at more closely, don’t take your eyes off it! Raise the binoculars to your eyes while keeping your sight focused on the bird. This will make it much easier to find the bird through your binoculars. With the bird in view, adjust the center focus by turning it left and right until the bird is clear.
A good practice exercise for your class is to print out a life-size image of a bird silhouette and do a little “target practice” with it. For an additional challenge, add text to the page that your students will have to focus on to read. Have your students stand in a line and then walk about 15 feet away from them. Hold up the printed image of the bird silhouette and ask your students if they can focus on the image with their binoculars. Once everyone has focused on the silhouette, talk a few steps back and ask them to focus again. Then repeat, this time walking forward several steps. Once your students master this, they are ready to use their skills on some real birds—enjoy!