Spark Design Thinking with a Feeder Design Challenge

In this spark activity, students use their engineering and construction skills to design and build a bird feeder that will help their local birds. This design challenge ignites student’s curiosity, expands their engineering skills, and fosters collaboration as they work together to plan, test, and refine their creations. Plus, students of all ages love it!
The Next Generation Science Standards connect science and engineering practices to build skills such as critical thinking and problem-solving. In this activity, students design a bird feeder using recycled and found materials. They consider the needs of birds, develop an understanding of what makes a good bird feeder, brainstorm designs, build the feeder, and evaluate its real-world performance.
- Familiarize yourself with local birds and determine which kind of bird seed to purchase using this interactive guide.
- Identify an area to hang bird feeders. Ideally, you’ll be able to see them from a classroom window.
- Decide if your class will work individually, in pairs, or larger teams.
- Determine how materials will be distributed so that all teams have equal access to materials. See Teacher Tip below.
- Gather Materials
- An assortment of recycled and natural materials, such as plastic and metal containers, cardboard, fabric, clothes hangers, pine cones, yarn, rope, and old kitchen utensils. Make sure you have plenty of materials that can be used as perches. Avoid materials that could cause harm to birds or students, such as mesh, sharp points, and jagged edges.
- Rulers
- Glue, tape, or hot glue guns
- Scissors or box cutters
- Bird seed, enough for each team to use at least 1 cup of seed (use sunflower seeds or carefully check labels if your classroom is nut free)
- 8 oz measuring cup or bowl
- Datasheets or science journals to record data and observations that arise throughout the week
Teacher Tip: Distributing Materials
Distributing materials for the challenge can be chaotic with larger groups. To streamline the process, consider:
- Categorizing materials by size and allocating a quantity from each category to every group, e.g., one large item, two medium items, and five small items.
- Implementing a point system for different material categories, limiting students to a certain number of points to “purchase” supplies. Assign a higher point value to larger or more desirable items, with smaller items (such as perches) worth one point. This fosters critical thinking and creativity in designs.
Explain your distribution method clearly and let students review materials before starting their designs.
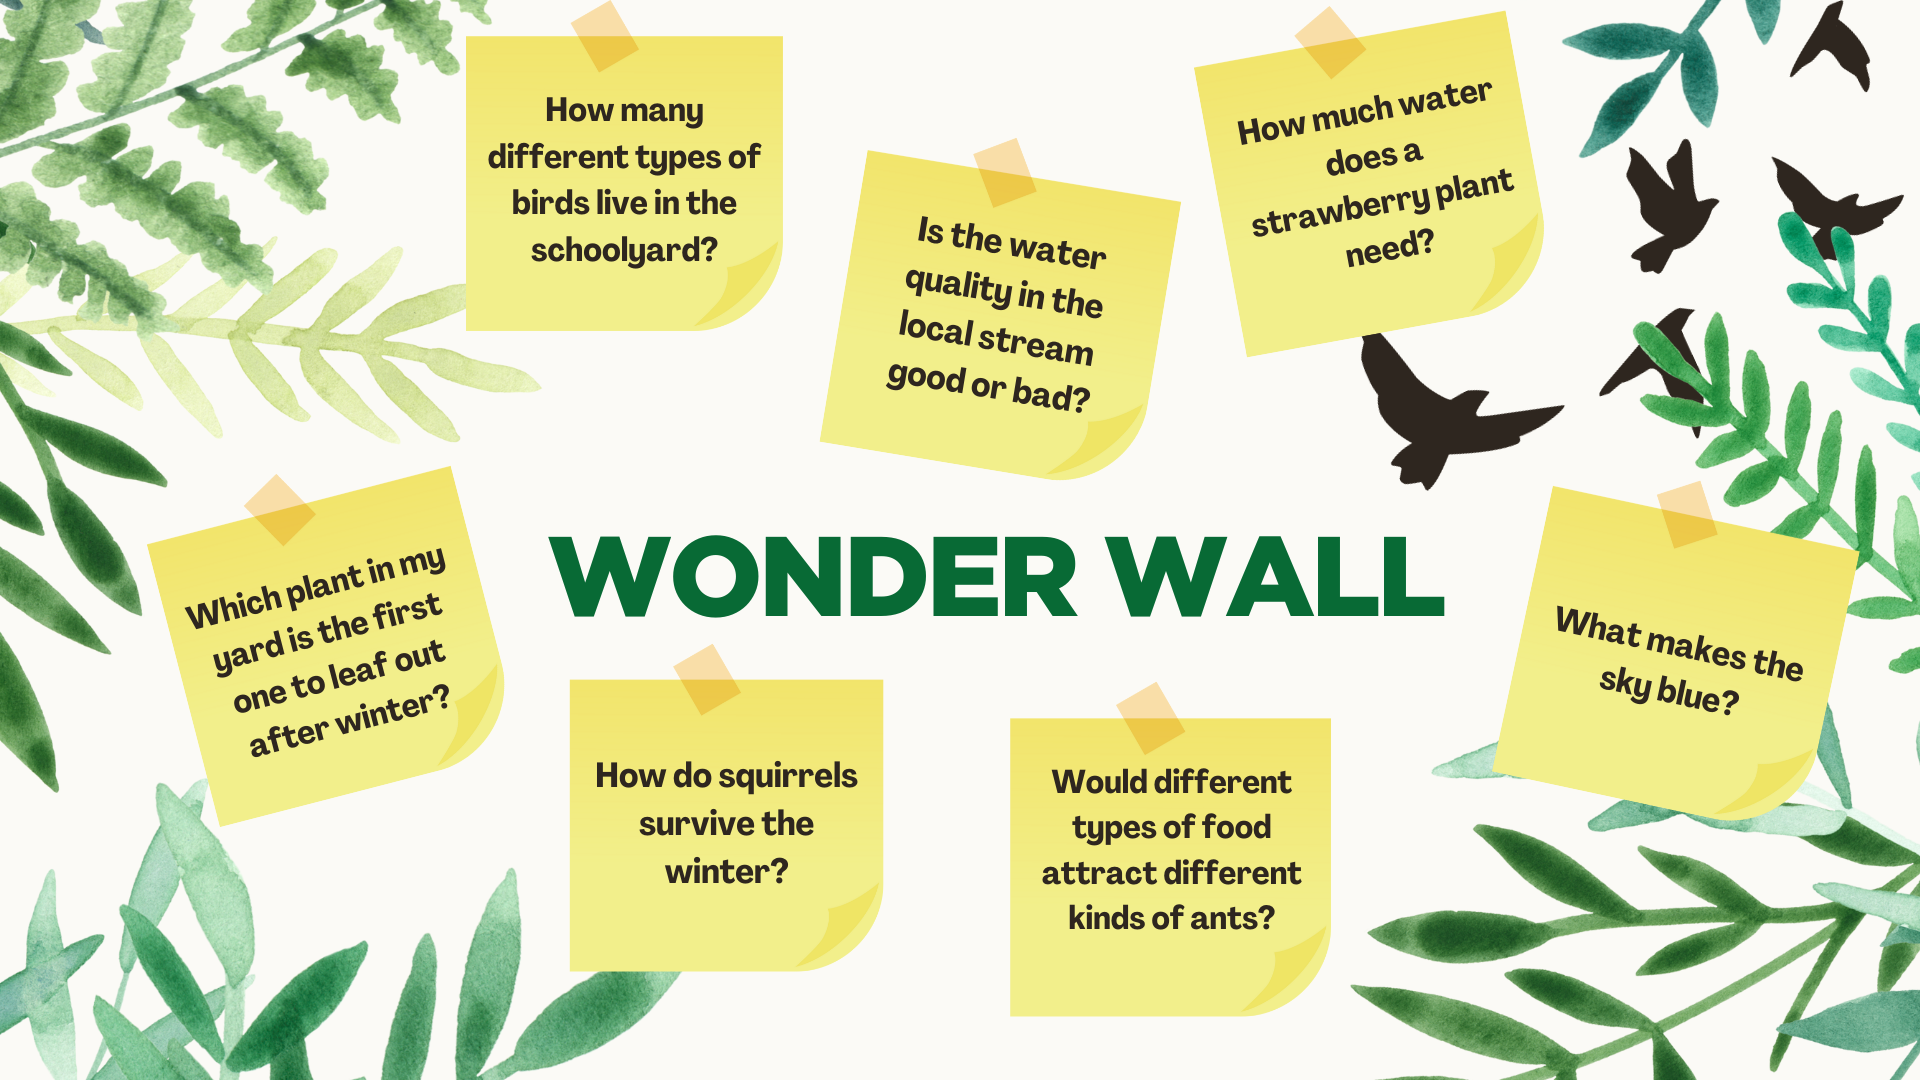
As questions arise during their observations, invite students to add them on the Wonder Wall. The Wonder Wall provides a space to collect and display student questions that you can revisit, answer later, or turn into investigations. Designate a space for your Wonder Wall and encourage students to write and post their questions there. To learn more about the Wonder Wall and how to encourage students to make observations and develop testable questions, download our free Students as Scientists unit.
Present the Challenge
Their goal is to design a functional bird feeder using recyclable and found materials. Include additional parameters as appropriate for your students, such as the feeder must:
- be able to hang from a tree or pole
- hold one cup of seed
- withstand the local weather and birds for one week
You can add additional criteria or constraints for older students, such as the amount of time to build the bird feeder, the type of seed, or specific materials that must be included. Specify whether they’ll work individually, in pairs, or larger teams.

Observe How Birds Use Feeders
If you have a bird feeder at your school, have students observe it for 5 to 10 minutes. While watching, have students record their observations. For younger students, have them share their observations out loud and keep a running list. Alternatively, show a live-streaming bird feeder cam. If no birds are present, rewind the cam or view recorded highlights.
After observing birds using a feeder, create a list of important bird feeder features. Ask:
- What did you notice about how birds use the feeders?
- Based on your observations, what features do you think are important for a good bird feeder?
Design the Feeder
Lay out the materials, explain how they will be distributed, and invite each team to examine them. Have teams brainstorm bird feeder designs based on what they learned from watching birds and using the materials provided. Encourage students to generate and record as many ideas as possible. Ensure that all students have a chance to share ideas. Have teams discuss the advantages and disadvantages of each idea to determine their final design.
Build the Feeder
Using their final design, give teams 30-40 minutes to gather materials and build their bird feeder. We advise setting up stations for hot glue guns and box cutters that can be easily supervised and to emphasize safety. Once all the bird feeders are ready, have teams share their designs and reasoning with the class.
Test the Feeder
Fill the feeders, measuring an equal amount of food if tracking consumption, and hang them. Over the week, schedule time for students to observe their feeders. You may wish to have them collect data about their feeder, such as :
- Total number of bird visits to their feeder
- Number of species visiting their feeder
- How their feeder is holding up against the weather
- How much seed was eaten from their feeder at the end of the week
Throughout the week, also encourage students to add any questions that arise during their observations on the Wonder Wall.
At the end of the week, have each design team discuss their observations, potential design improvements, and the overall success of their feeder amongst their group. Initiate a class discussion by asking:
- Which feeder attracted the greatest bird diversity, and why?
- What feeder designs and materials were sturdy, and which fell apart?
- How can we improve future feeder designs?
- What questions arose during the week, and how can we explore answers? If you used a Wonder Wall, review those questions.
Build on your student’s iterative design skills and their feeder observations concepts by creating a “super feeder.” You can have students work in groups to develop a new design or create one super feeder as a class. In either case, organize new design teams. These new teams will collaborate to integrate the best features from their individual feeders into one super feeder design. If creating a single feeder as a class, have each group present their design, emphasizing the key elements that worked well and any that performed poorly. After all presentations, use iterative design thinking to collaboratively create a final design. Once you have settled on a class design, use the same procedures as the initial activity to build the feeders and fill them with bird food to hang outside.
With the improved designs, you have an excellent opportunity to engage in a nature-based inquiry project. Put your super feeders to the test against your first-round feeders or store-bought feeders. Which will attract the most birds? Which will attract greater bird diversity? From which feeder will more food be eaten? Work with your class to develop their questions, design their investigation, collect data, and share their results. Use the Students as Scientists unit to help scaffold this process.
This resource was developed with the generous support of