Spark Guides
Spark your student’s curiosity about the natural world using these five guides. Learn more about our nature-based inquiry unit Students as Scientists.

In this spark activity, students use their engineering and construction skills to design and build a bird feeder that will help their local birds. This design challenge ignites student’s curiosity, expands their engineering skills, and fosters collaboration as they work together to plan, test, and refine their creations. Plus, students of all ages love it!
The Next Generation Science Standards connect science and engineering practices to build skills such as critical thinking and problem-solving. In this activity, students design a bird feeder using recycled and found materials. They consider the needs of birds, develop an understanding of what makes a good bird feeder, brainstorm designs, build the feeder, and evaluate its real-world performance.
- Familiarize yourself with local birds and determine which kind of bird seed to purchase using this interactive guide.
- Identify an area to hang bird feeders. Ideally, you’ll be able to see them from a classroom window.
- Decide if your class will work individually, in pairs, or larger teams.
- Determine how materials will be distributed so that all teams have equal access to materials. See Teacher Tip below.
- Gather Materials
- An assortment of recycled and natural materials, such as plastic and metal containers, cardboard, fabric, clothes hangers, pine cones, yarn, rope, and old kitchen utensils. Make sure you have plenty of materials that can be used as perches. Avoid materials that could cause harm to birds or students, such as mesh, sharp points, and jagged edges.
- Rulers
- Glue, tape, or hot glue guns
- Scissors or box cutters
- Bird seed, enough for each team to use at least 1 cup of seed (use sunflower seeds or carefully check labels if your classroom is nut free)
- 8 oz measuring cup or bowl
- Datasheets or science journals to record data and observations that arise throughout the week
Teacher Tip: Distributing Materials
Distributing materials for the challenge can be chaotic with larger groups. To streamline the process, consider:
- Categorizing materials by size and allocating a quantity from each category to every group, e.g., one large item, two medium items, and five small items.
- Implementing a point system for different material categories, limiting students to a certain number of points to “purchase” supplies. Assign a higher point value to larger or more desirable items, with smaller items (such as perches) worth one point. This fosters critical thinking and creativity in designs.
Explain your distribution method clearly and let students review materials before starting their designs.
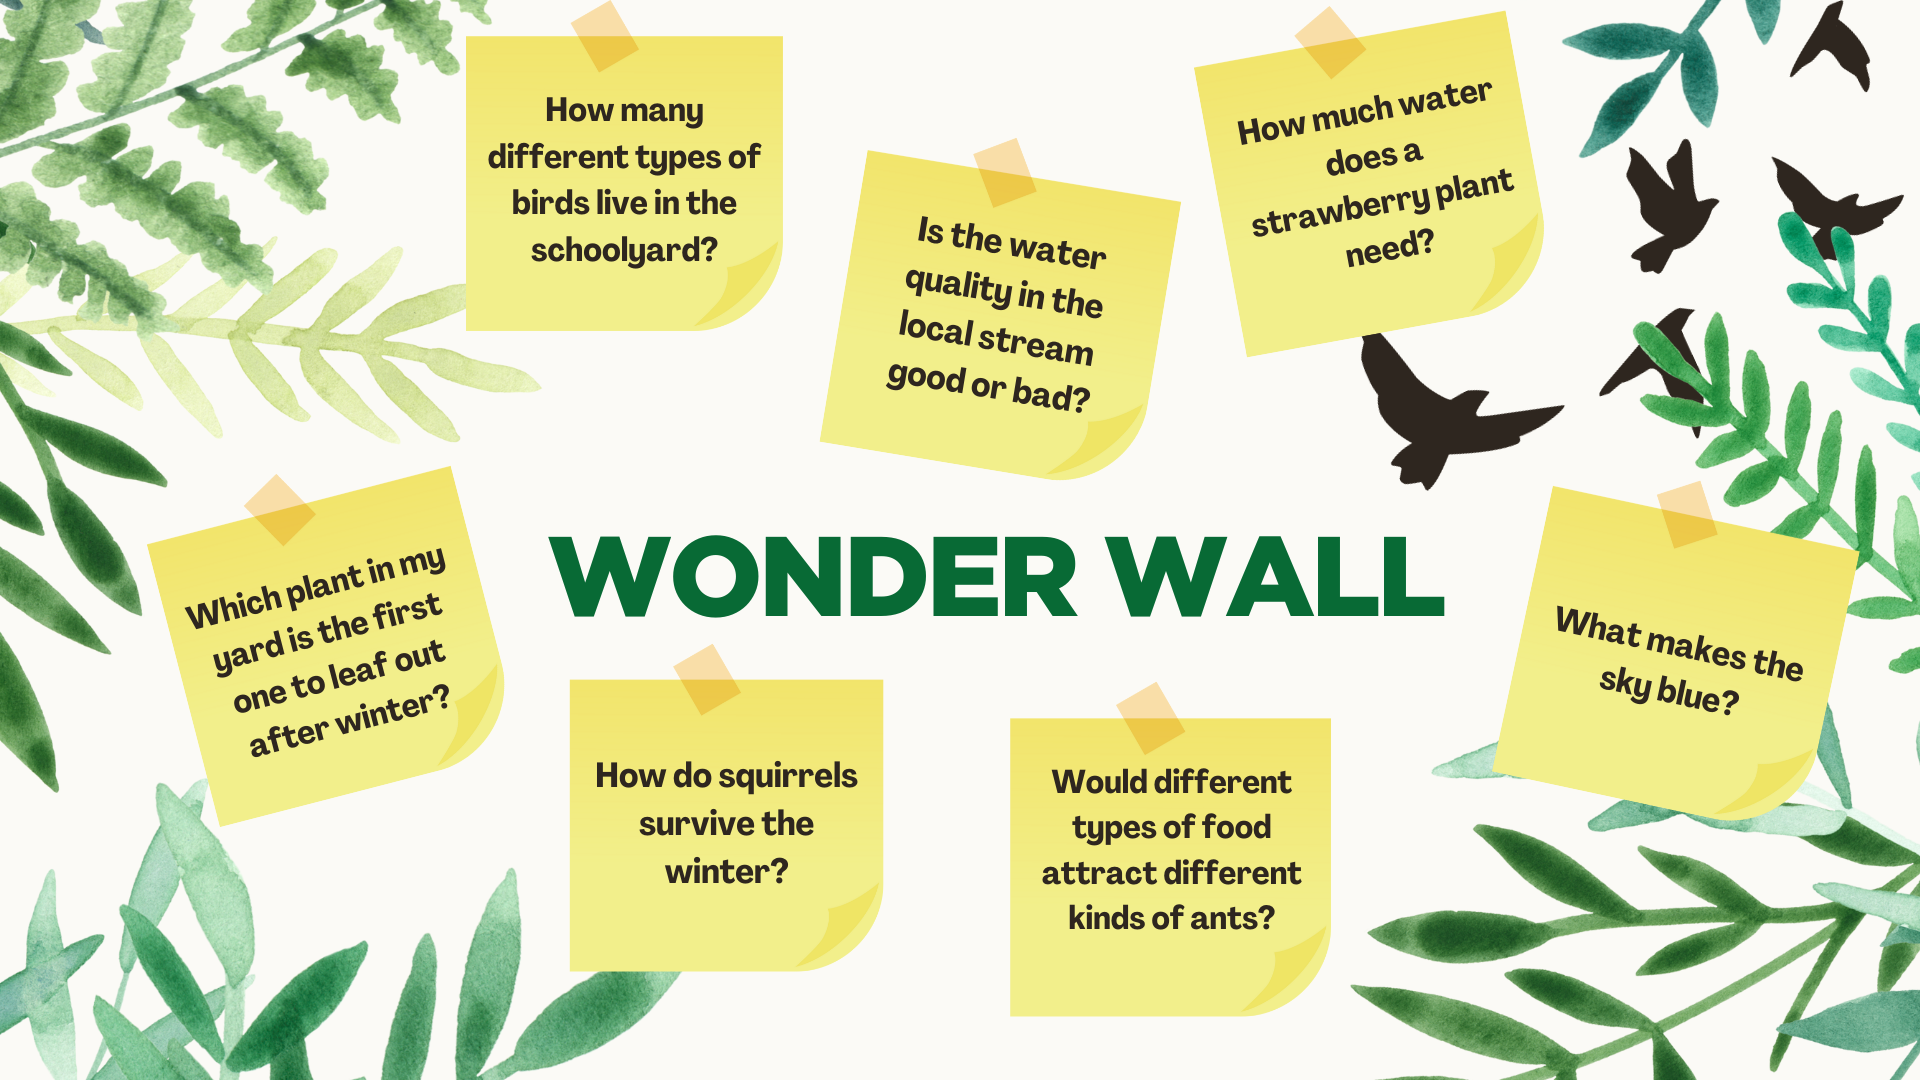
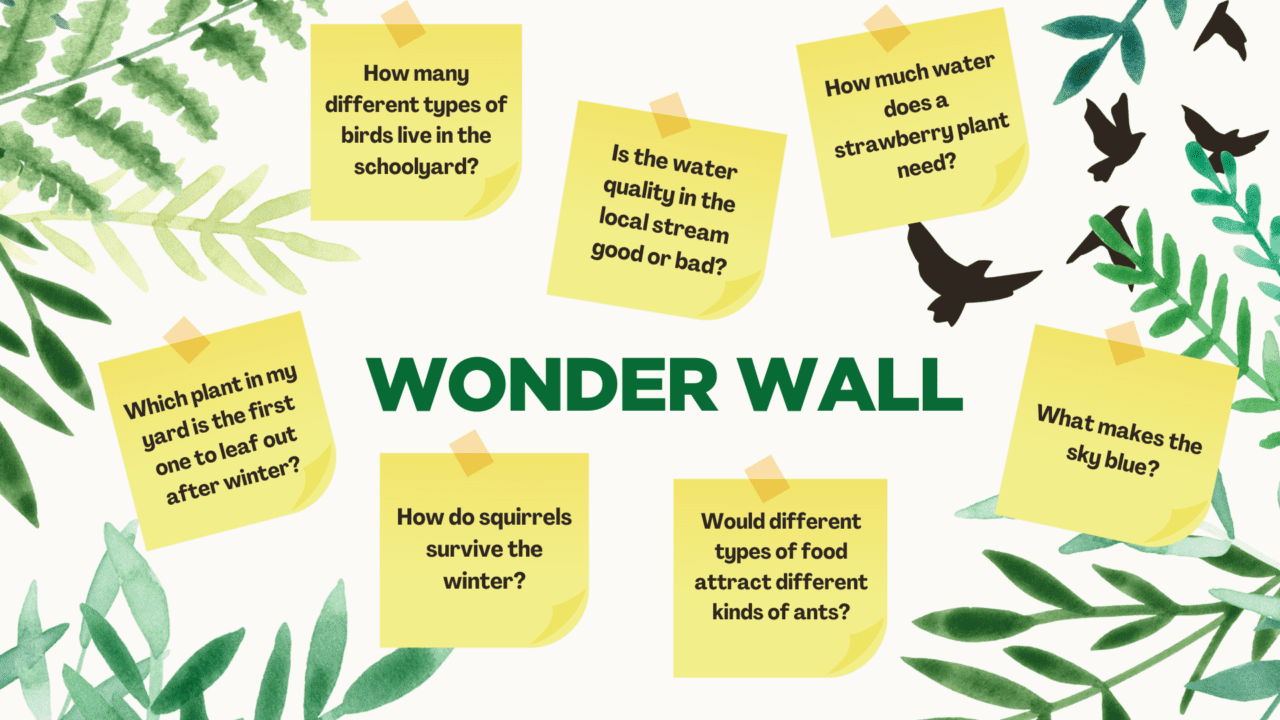
As questions arise during their observations, invite students to add them on the Wonder Wall. The Wonder Wall provides a space to collect and display student questions that you can revisit, answer later, or turn into investigations. Designate a space for your Wonder Wall and encourage students to write and post their questions there. To learn more about the Wonder Wall and how to encourage students to make observations and develop testable questions, download our free Students as Scientists unit.
Present the Challenge
Their goal is to design a functional bird feeder using recyclable and found materials. Include additional parameters as appropriate for your students, such as the feeder must:
- be able to hang from a tree or pole
- hold one cup of seed
- withstand the local weather and birds for one week
You can add additional criteria or constraints for older students, such as the amount of time to build the bird feeder, the type of seed, or specific materials that must be included. Specify whether they’ll work individually, in pairs, or larger teams.

Observe How Birds Use Feeders
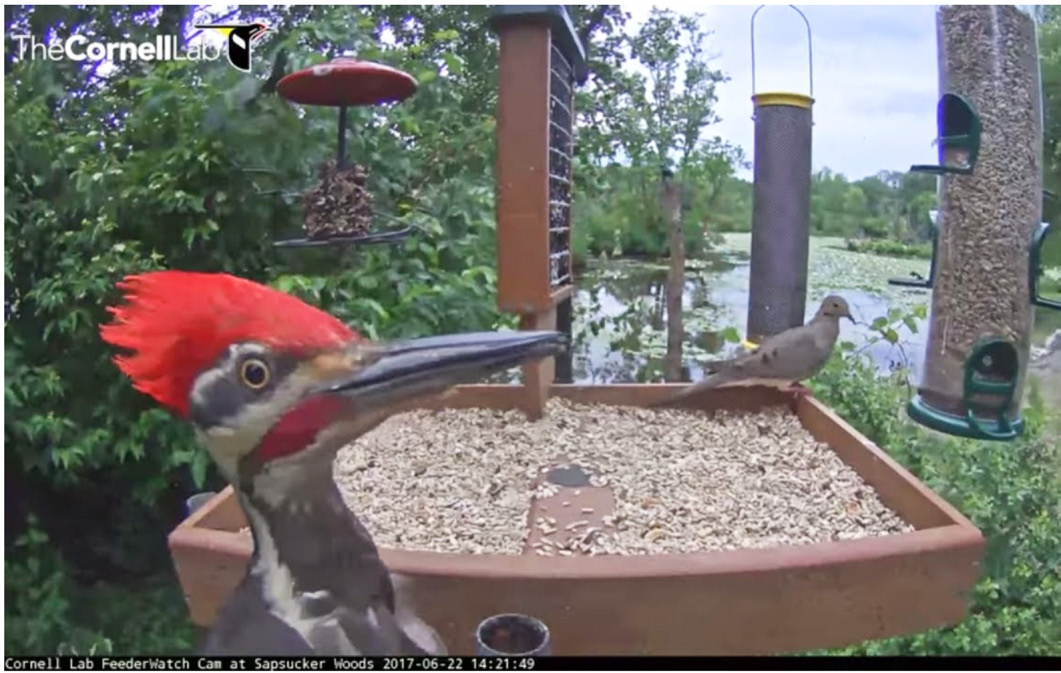
If you have a bird feeder at your school, have students observe it for 5 to 10 minutes. While watching, have students record their observations. For younger students, have them share their observations out loud and keep a running list. Alternatively, show a live-streaming bird feeder cam. If no birds are present, rewind the cam or view recorded highlights.
After observing birds using a feeder, create a list of important bird feeder features. Ask:
- What did you notice about how birds use the feeders?
- Based on your observations, what features do you think are important for a good bird feeder?
Design the Feeder
Lay out the materials, explain how they will be distributed, and invite each team to examine them. Have teams brainstorm bird feeder designs based on what they learned from watching birds and using the materials provided. Encourage students to generate and record as many ideas as possible. Ensure that all students have a chance to share ideas. Have teams discuss the advantages and disadvantages of each idea to determine their final design.
Build the Feeder
Using their final design, give teams 30-40 minutes to gather materials and build their bird feeder. We advise setting up stations for hot glue guns and box cutters that can be easily supervised and to emphasize safety. Once all the bird feeders are ready, have teams share their designs and reasoning with the class.
Test the Feeder
Fill the feeders, measuring an equal amount of food if tracking consumption, and hang them. Over the week, schedule time for students to observe their feeders. You may wish to have them collect data about their feeder, such as :
- Total number of bird visits to their feeder
- Number of species visiting their feeder
- How their feeder is holding up against the weather
- How much seed was eaten from their feeder at the end of the week
Throughout the week, also encourage students to add any questions that arise during their observations on the Wonder Wall.
At the end of the week, have each design team discuss their observations, potential design improvements, and the overall success of their feeder amongst their group. Initiate a class discussion by asking:
- Which feeder attracted the greatest bird diversity, and why?
- What feeder designs and materials were sturdy, and which fell apart?
- How can we improve future feeder designs?
- What questions arose during the week, and how can we explore answers? If you used a Wonder Wall, review those questions.
Build on your student’s iterative design skills and their feeder observations concepts by creating a “super feeder.” You can have students work in groups to develop a new design or create one super feeder as a class. In either case, organize new design teams. These new teams will collaborate to integrate the best features from their individual feeders into one super feeder design. If creating a single feeder as a class, have each group present their design, emphasizing the key elements that worked well and any that performed poorly. After all presentations, use iterative design thinking to collaboratively create a final design. Once you have settled on a class design, use the same procedures as the initial activity to build the feeders and fill them with bird food to hang outside.
With the improved designs, you have an excellent opportunity to engage in a nature-based inquiry project. Put your super feeders to the test against your first-round feeders or store-bought feeders. Which will attract the most birds? Which will attract greater bird diversity? From which feeder will more food be eaten? Work with your class to develop their questions, design their investigation, collect data, and share their results. Use the Students as Scientists unit to help scaffold this process.
Using wildlife cams in the classroom is a great tool for helping students hone their observation skills. The Next Generation Science Standards uses science practices, such as observation, to build critical thinking and problem-solving skills. Wildlife cams capture students’ attention and offer an authentic 24/7 view of the natural world. Students can closely observe bird nests, visit underwater habitats, and explore the depths of the rainforest.
In this spark activity, students will observe a live-streaming bird cam and then create a comic from their observations. Creating a comic is a great way to focus student observation. It sparks students’ curiosity, motivates them to gather essential details for their comics, and can engage students not typically interested in science.
- Select and cue a live-streaming wildlife cam to view. See tips and suggestions in next accordion section.
- Print off comic strip templates (younger student sample, older student sample), enough for each student. These are word documents so you can modify.
- Gather colored pencils, crayons, markers, or other drawing utensils.
As questions arise during their observations, invite students to add them on the Wonder Wall. The Wonder Wall provides a space to collect and display student questions that you can revisit, answer later, or turn into investigations. Designate a space for your Wonder Wall and encourage students to write and post their questions there. To learn more about the Wonder Wall and how to encourage students to make observations and develop testable questions, download our free Students as Scientists unit.
- Opt for live streaming cameras over highlight videos. They provide real-time views of living creatures, making learning more exciting and authentic by capturing the unpredictability of nature and enhancing understanding of animals and the science process. If your goal is to have your students explore wild behavior, we recommend using a wildlife cam rather than a zoo, aquarium, or rescue cam.
- Play to your students’ interests. If you discover that your students absolutely love elephants, pandas, or giraffes, find a cam located in the natural habitat of those animals. If you plan to have students work in groups, group them by animal interest rather than randomly, and allow them to watch and share about their specific animal.
- Explore science phenomena. Relate cams to planned content. For instance, if you’re teaching about biodiversity, use a cam in the Amazon Rainforest—the world’s most biodiverse region–to showcase the rich variety of plants and animals. If you’re focused on a particular habitat or class of animals, choose a cam that complements that content.
- Visit another part of the world. Pick a cam that relates to geographic areas you’re teaching about. For instance, if you’re covering the marine ecosystems Chinese New Year, Lewis and Clark’s expedition, the Louisiana Purchase, or, choose a camera in the corresponding location so students experience the local flora and fauna.
- Boost and broaden engagement. Showing a cam can be a relaxing way to start the day or class or left on to provide an intriguing classroom backdrop. Consider inviting caregivers to join in the adventure by watching the cam from home or at the local library, fostering family engagement!
You can search online for active cams, but here are some of our favorites:
- The Cornell Lab of Ornithology has 16 bird cams located around the world showing feeders and nests.
- Explore.org offers over 75 live cams, with many focused on wildlife from around the world.
- The National Park Service has placed 100s of live-streaming cams in U.S. parks. Visit https://www.nps.gov and search webcams.
Observe
Invite students to watch the cam you have chosen for a brief period (around 5 to 10 minutes, depending on grade level). If there’s little action, use the rewind function if it is available. Students can jot down notes or sketches, or simply observe.
Tip: Uh oh… there aren’t animals!
This can happen, even with an active camera. If you don’t see animals, prompt students to observe the habitat closely, building the patience that is needed in scientific study. If time or internet issues are a concern, you can have a short video clip ready to show a desired animal or behavior. For example, searching for videos of “chimpanzee grooming” or “hummingbird nestlings” will yield many interesting results!
Draw a Comic
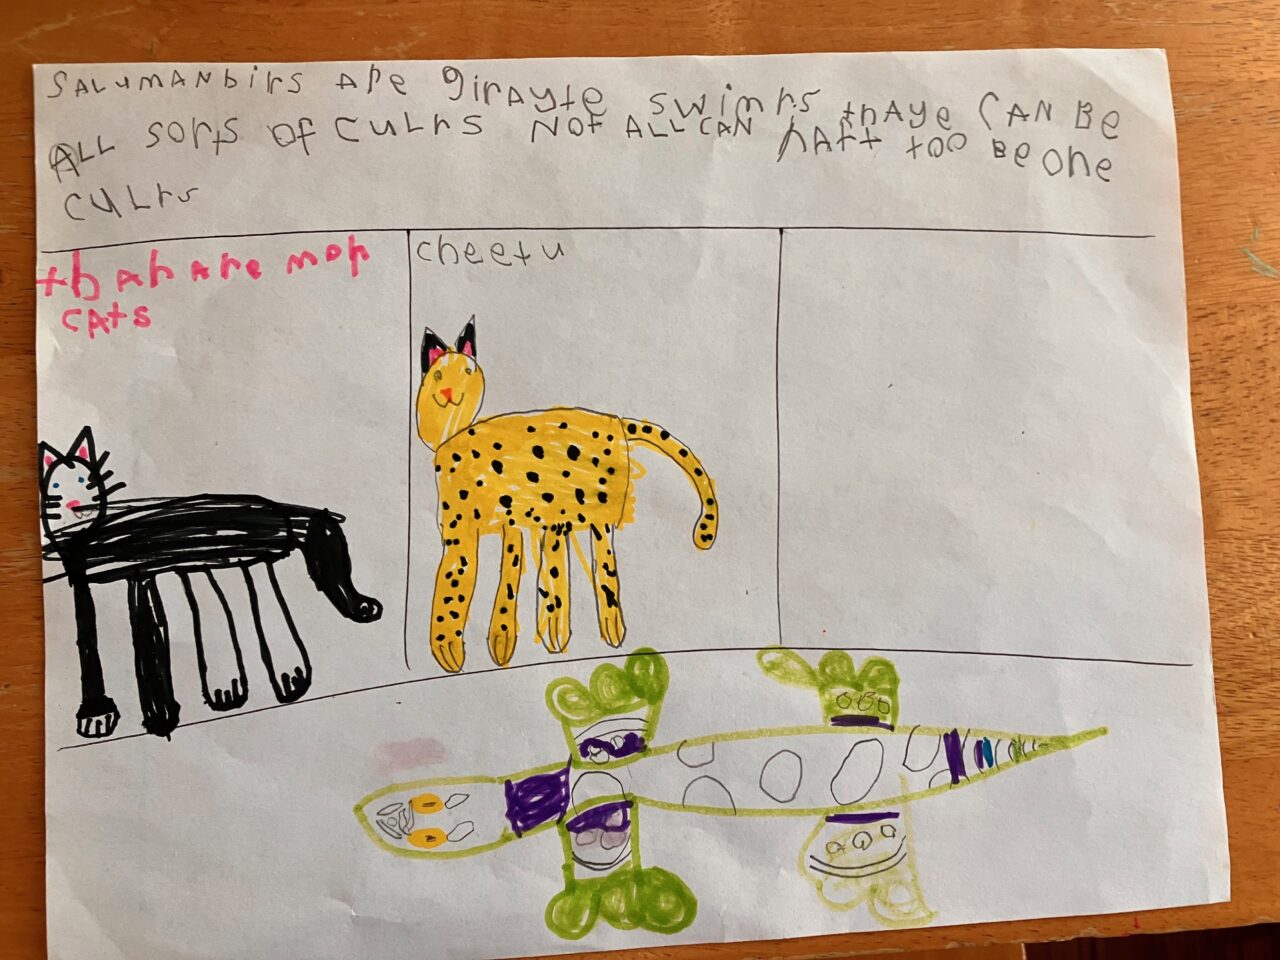
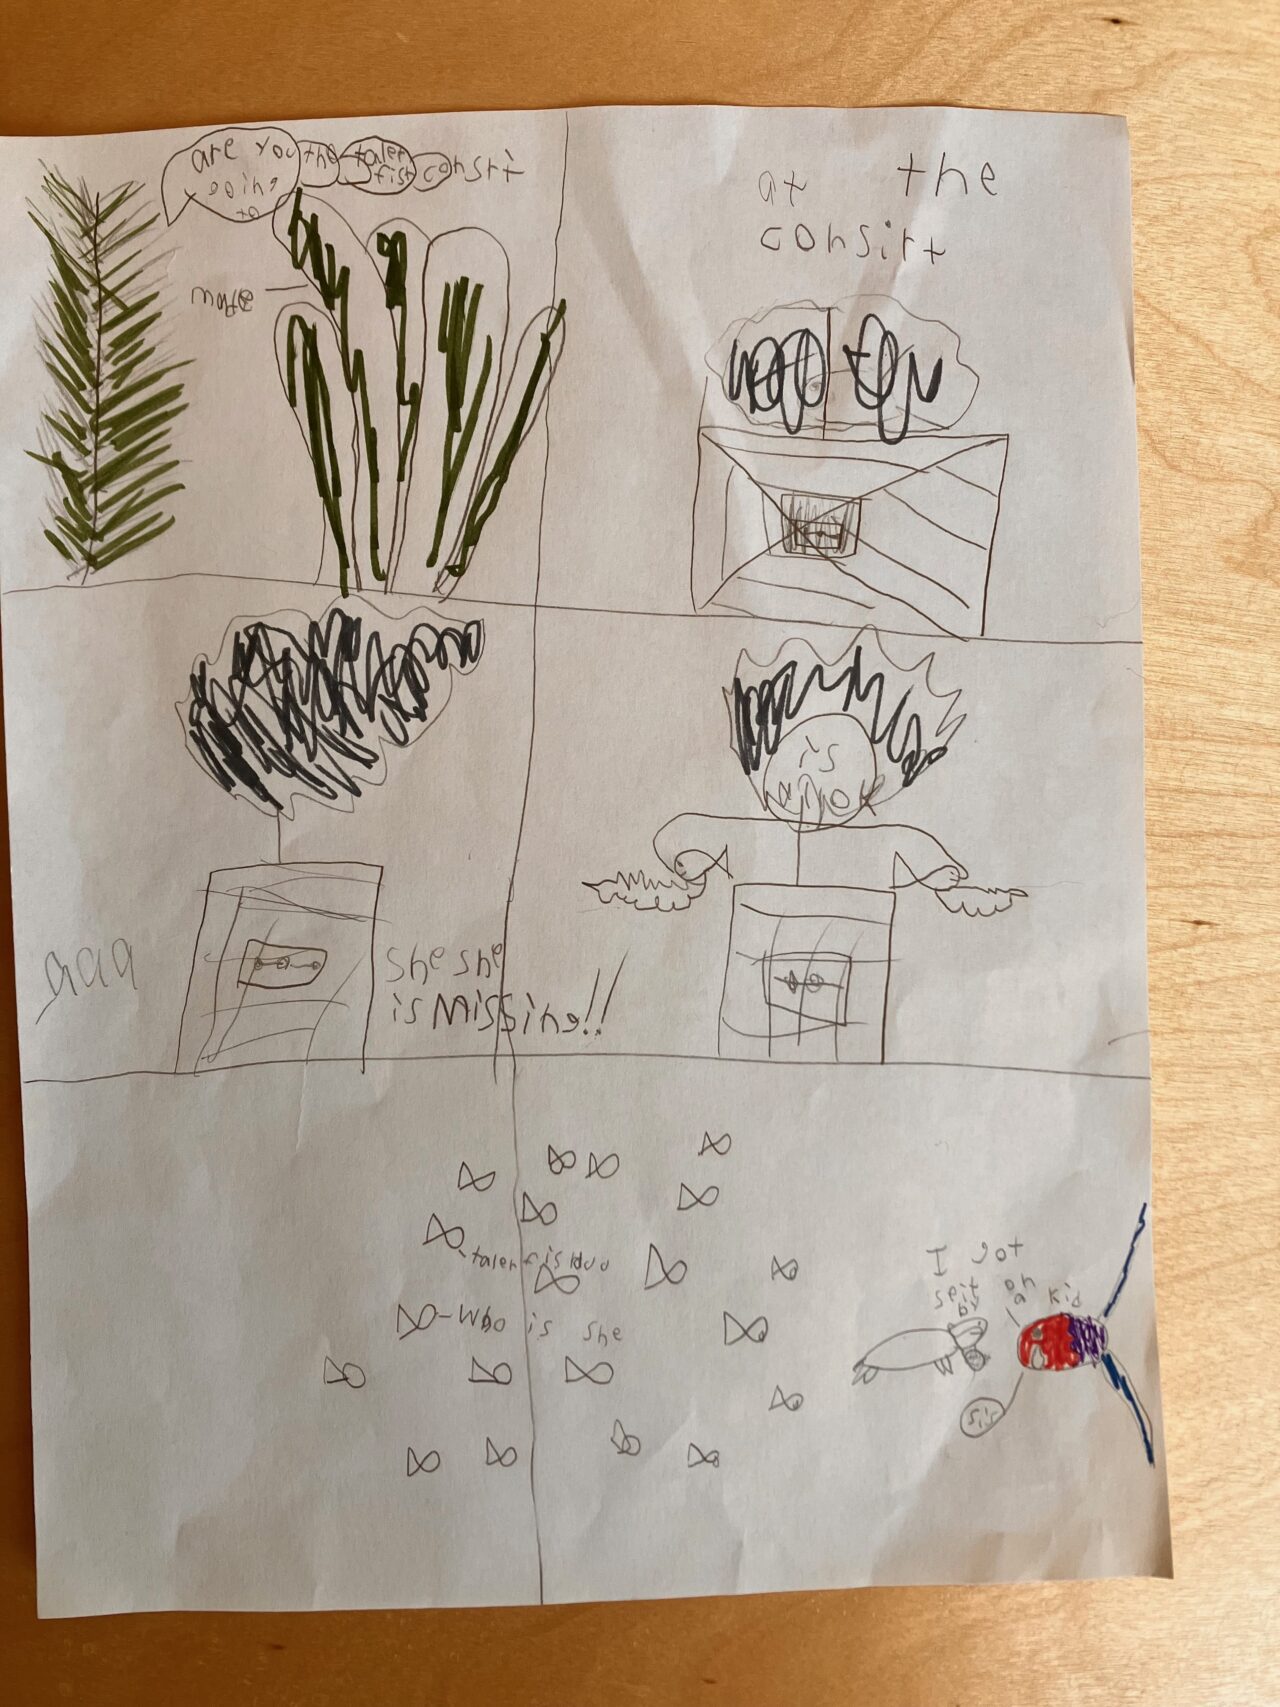
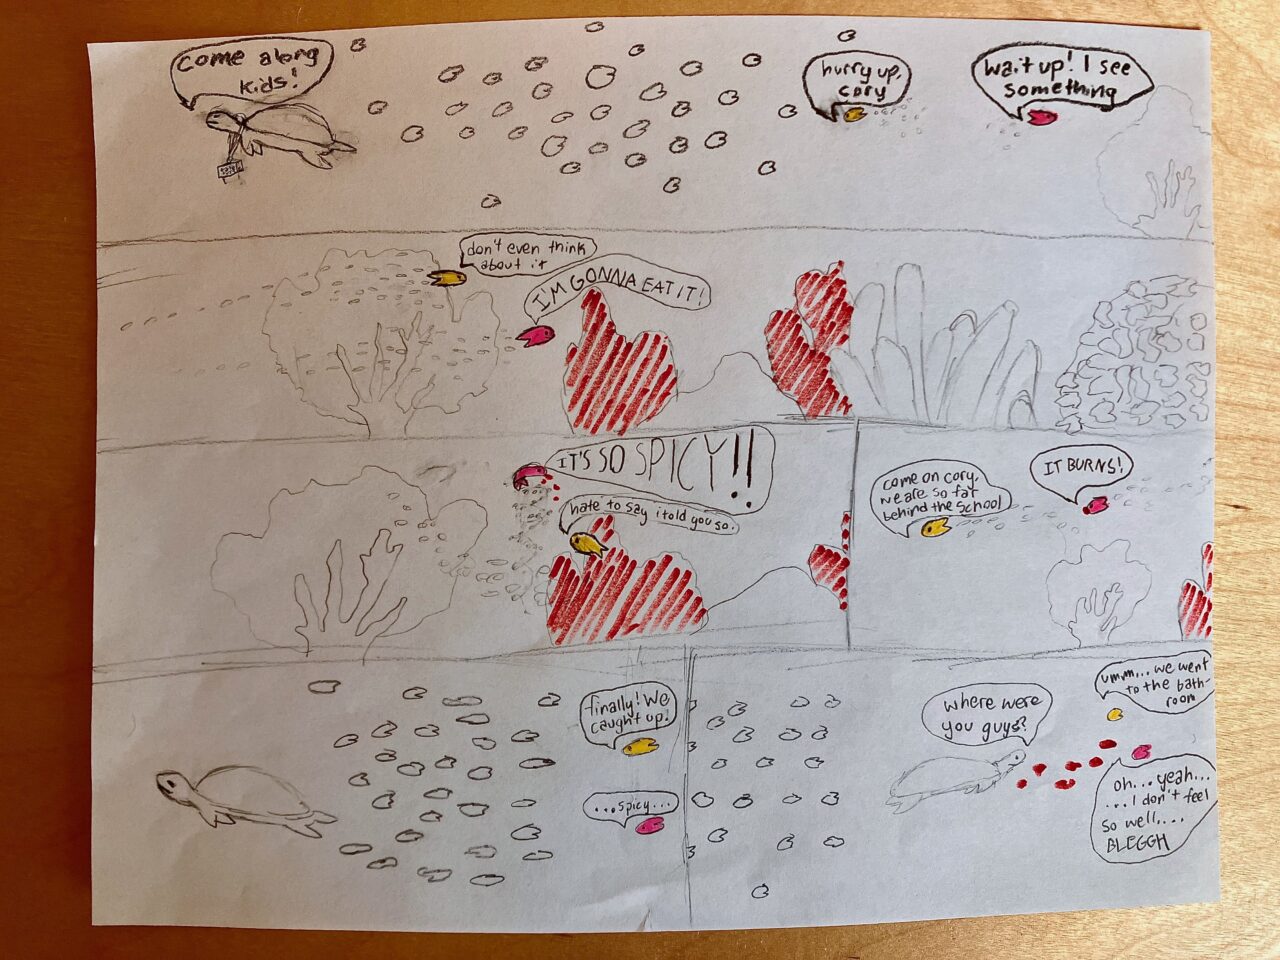
Hand out empty comic strips to each student, and prompt them to craft a short and simple comic strip about animal behaviors they’ve observed. They should select something they noticed and draw it in the second frame (leaving the first frame empty). Then ask: “What happened before?” (for frame 1) and “What might happen after?” (for frame 3 and beyond). Encourage imaginative sequencing based on their observations. Depending on your objectives with this activity, you may want to ensure that students base their comics upon facts not just using their observations to make an imaginative comic. You will see in the gallery below that when students were not given explicit instructions to include scientific facts, they chose to create imaginative stories. This can be fun and engaging, but if your purpose is to create realistic comics then provide specific instructions for including facts.
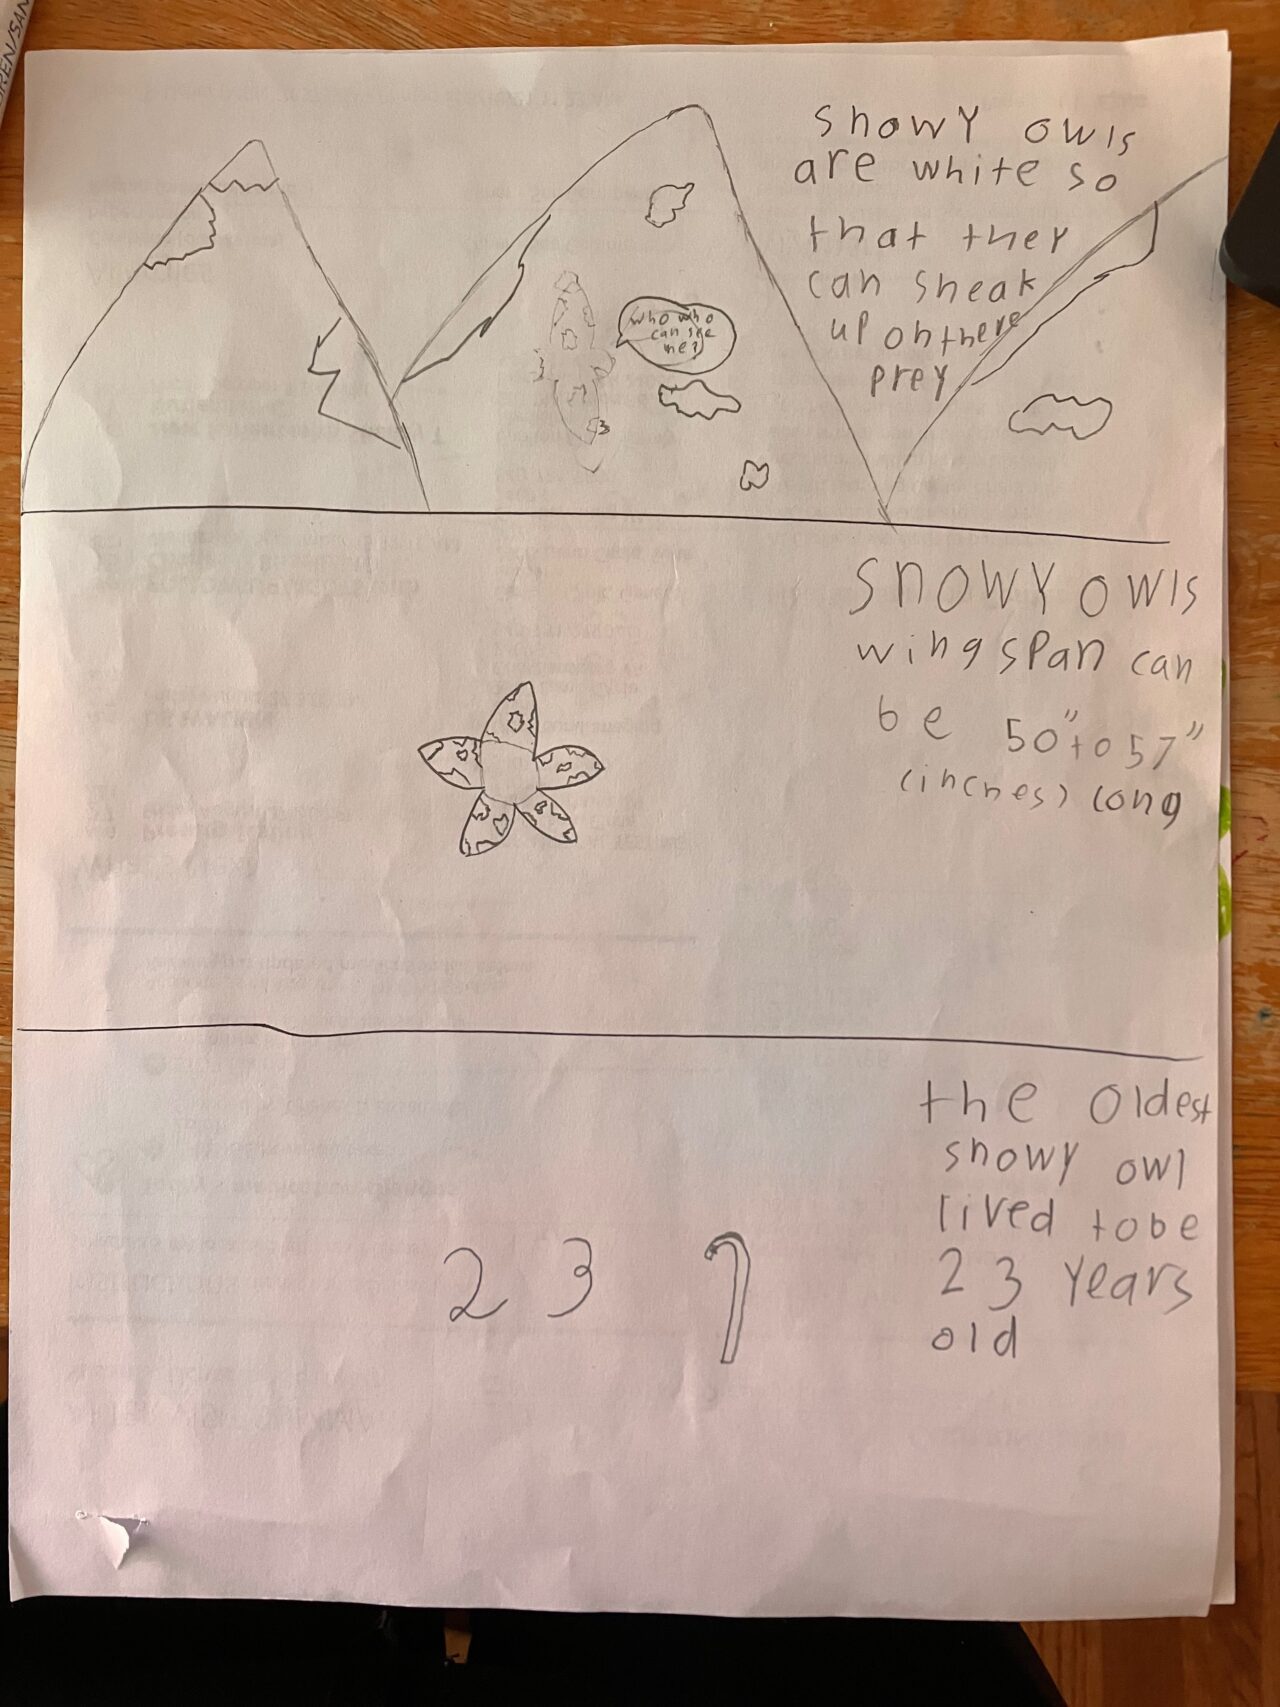
For older students, encourage paragraph writing for each panel, blending informational and creative elements. Encourage them to research their animal and include scientific explanations.
Make a Gallery Walk
Display the finished comics around the room and do a gallery walk so students can view each other’s work. After the gallery walk, ask them to write down any questions they have about their observations or new questions that arose after viewing other’s work on sticky notes and post these to the Wonder Wall.
Lead a class discussion about their observations and any questions that arise. Ask:
- How were the comics different? How were they similar? Why are there differences?
- What questions did you have about the animal after you observed it and drew your comic?
- What questions do you have now that you’ve seen other comics?
- What questions do you have about animals we see around here?
- How can we turn these questions into testable questions that we could explore by collecting and analyzing data?
You may wish to add any of the questions generated based on the comics or the reflection to your Wonder Wall.
Invite students to create a journal to log their observations and develop an “I wonder” list while watching a wildlife cam. Journals can be part of a notebook or you can you use one of these templates: Journal for Younger Students or Journal for Older Students. Show the cam at the beginning of class each day or each week, and use their journal to log their observations and questions over the course of a season. For example, they can draw and write about a nest as the chicks hatch, grow up, and fledge.
TIP: For younger students, you may want to model note taking to prepare them for recording their own observations, for example, by drawing or using short sentences and phrases to document what they see.
During this experience, encourage students to:
- Add their questions to their “I wonder” list.
- Observe the cam animals and write factual observations about what they see and hear.
- Examine the differences between observations and inferences. Lesson 2 of the Students as Scientists unit provides scaffolding and activities to help with this.
- Explore their questions through inquiry-based research. This can be done independently with non-fiction resources or supported by investigations as described in the Students as Scientists unit.
If students are struggling to make observations or hesitant to share, you can use the following questions to support them in making observations and asking questions:
- What is the animal doing?
- How do you explain what you are seeing?
- What do you notice about the animal’s habitat?
- How does the animal move?
- How does the animal interact with others? With its environment?
- What do you wonder about this animal?
- Why might the animal be behaving this way?
We hope you’ve sparked many questions your students will be excited to explore. If you’re ready to go further and support student investigations, the Students as Scientists curriculum can be your guide. The resource is available in K-5 and 6-12 grade band versions.
With so much to see outside, it’s no wonder that students are curious about what is happening in the world around them! When they explore nature, they are often full of questions: Why are the clouds so fluffy today? What birds are in our schoolyard? Is the water in that stream clean or dirty? What animals live here? Plus, the Next Generation Science Standards identifies observing phenomena and asking questions as essential science practices. This spark activity encourages students to observe and question the world around them while spending time in the same outdoor spot over time.
Outdoor learning offers many benefits beyond inspiring curiosity, including enhanced academic skills and productivity. Outdoor time also fosters improved mood, social connections, and physical well-being. Because students may lack access to outdoor spaces in other parts of their lives, integrating outdoor education into the school day can be crucial for their mental and physical health.
Sometimes taking students outside can feel like organized chaos. A sit spot can help your students’ observations and exploration be more focused. A sit spot is a specific location for focused time in nature, and provides an opportunity for students to make meaningful observations, notice seasonal changes, and spark curiosity. Students also feel a sense of connection to their little corner of the world, which can lead to more detailed observations, stewardship, and a sense of place.
- Find a suitable area for the sit spots.
- Gather or make markers for their sit spot such as wooden sticks, string, or painted rocks to be placed at their spot.
- If possible, have old towels, blankets, or yoga mats for students to sit on.
- Gather paper or nature journals, colored pencils, crayons, markers, clipboards, and sticky notes (if you are creating a Wonder Wall, see below) for each student.
As questions arise during their observations, invite students to add them on the Wonder Wall. The Wonder Wall provides a space to collect and display student questions that you can revisit, answer later, or turn into investigations. Designate a space for your Wonder Wall and encourage students to write and post their questions there. To learn more about the Wonder Wall and how to encourage students to make observations and develop testable questions, download our free Students as Scientists unit.
Between the open sky and the cracks in the concrete, there is plenty for students to observe and wonder about, wherever you are! Here are some tips for outdoor student learning:
- Be inclusive. Consider all your students and strategize how to include everyone before going outside. Recognize, acknowledge, and give space to students who are uncomfortable outdoors or use outdoor space differently than you do.
- Establish expectations. Co-develop an outdoor community learning agreement with your students. Before you go out, talk to your students about ways to minimize their impact on nature (for example, not picking live plants or disturbing animals), boost safety (for example, staying together as a group), and help each other discover fascinating things.
- Provide roles. Develop tasks to keep students engaged and empowered, such as carrying supplies, keeping track of the time, or watching for ways to minimize their impact on nature.
- Use observation cues. Before you go out, teach younger students about deer ears (cupping their hands behind their ears to better funnel in sounds), owl eyes (making binoculars with their hands or old bath tissue rolls), fox feet (walking quietly and slowly, as if stalking prey), and bunny noses (wrinkling up noses and sniffing all around). Encourage older students to engage their senses during observations: What can you see? What do you hear? How does it feel? What does it smell like? Early on, you may want to focus observations on one or more of these senses: a scavenger hunt for things you see or a listening walk.
- Embrace good distractions. Build in extra time for unexpected events and teaching opportunities.
- Set them up for success. Begin with short periods of observing. Starting with a short experience allows students time to practice skills and doesn’t leave too much time for distractions. Extend the time as students build interest and demonstrate focus.
- Rain, rain go away. Rather than letting the weather keep you inside, be prepared. Be ready with weather appropriate gear such as ponchos (trash bags work too), boots, gloves, hats, and coats for students who lack them or forget about the outdoor plans. If possible, keep umbrellas on hand.
Choose a Sit Spot
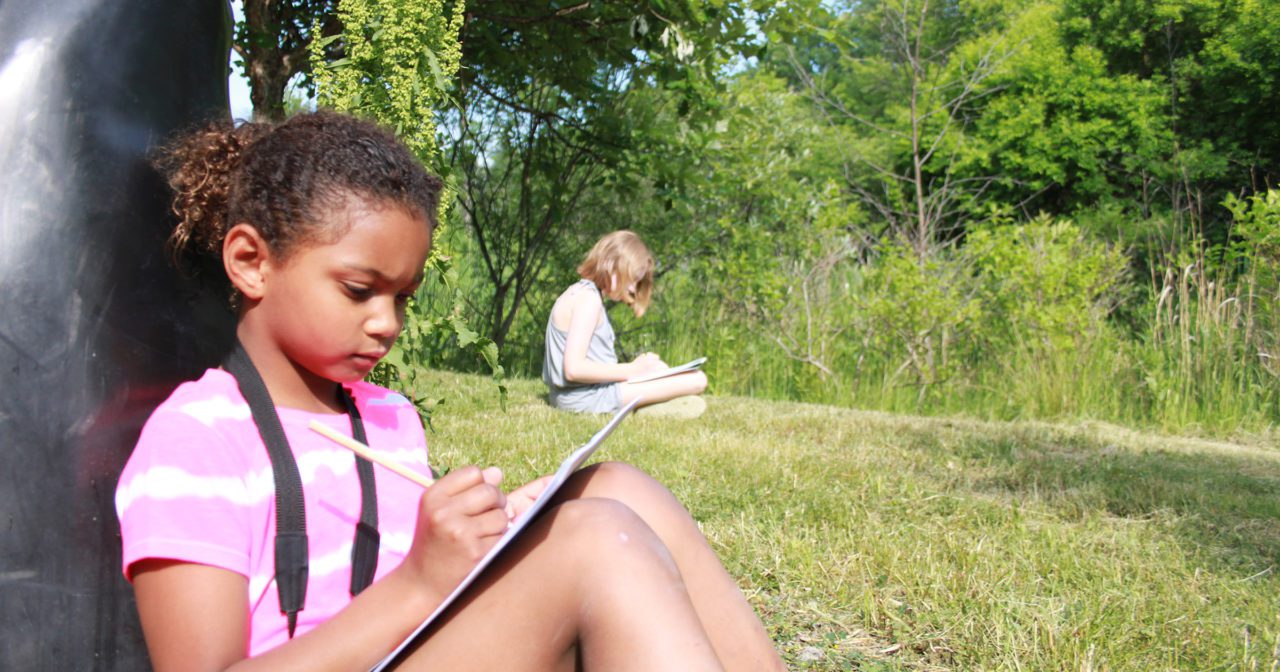
Students should choose their sit spots, a place where they are comfortable and feel safe. You may want to encourage them to places where there are opportunities to observe a variety of plants and animals. Encourage them to try out a few spots before settling on one. Also, if possible, make sure there is an arms-length distance between sit spots so each student is able to observe and engage with their unique spot. Once students have chosen their sit spot, have them mark it so they can return here over time.
Observation Journaling
At their sit spots, give students 1 to 3 minutes to look, listen, smell, and feel the world around them without writing or drawing. Then ask them to start writing down or drawing their observations–anything they find interesting and anything that makes them wonder. For the first sit spot, limit the amount of time given for observations, usually 5 minutes is enough time. You may want to provide more guidance, especially during their first sit. You could ask younger students to find the colors of the rainbow, while older ones can respond to prompts such as:
- I notice that… (statements)
- I wonder… (questions)
- I think that… (answers)
- It reminds me of… (connections)
More Sit Spot Activities
- 5-4-3-2-1 Write or draw 5 things you can see, 4 things you can touch, 3 things you can hear, 2, things you can smell, 1 emotion you feel
- Comparison Choose 2 similar objects (rocks, leaves, mushrooms, flowers) and compare the similarities and differences of those objects.
- Poem Write a poem about your view, your sit spot, or an observation you made.
At the end of the first observation time, ask them to circle one thing that inspired them to ask a question. Then, in pairs, have the students share their circled observation, question, and why they chose it. Hand each student a sticky note to write their question down and add to the Wonder Wall back in the classroom.
Throughout the year, aim to visit the same spot repeatedly to deepen observations, compare seasons, and try different activities. Even a few visits allow students to note changes and make new observations.
Regular visits to a sit spot, ideally weekly, can provide a wealth of inspiration for generating questions that arise from student observations. We recommend having students maintain a nature journal with a dedicated page for each sit spot visit and to add their new questions to the Wonder Wall. These questions can be the launching pad for class, group, or individual science investigations.
To guide them through their own investigations, consider using Students as Scientists. This resource offers lessons, slides, and handouts designed to help your students ask and answer their own questions, making authentic science accessible in your classroom. Students will explore the entire science process, from making observations to data analysis and sharing results. The resource is available for the K-5th grade band and 6th-12th grade band.
Participatory science is people-powered science! It is science done by regular people, including K-12 students, using basic scientific protocols to make observations or analyze data. Professional scientists rely on these data for understanding everything from ants to zebras and on a scale from cells to the universe. These data enables scientists to explore questions previously out of reach, leading to groundbreaking discoveries. Today, millions of global participants share billions of observations every year.
Using participatory science in the classroom offers numerous benefits by:
- Practicing communication and collaboration, which are two of the NGSS key skills to develop scientific literate students.
- Connecting students to broader scientific efforts and allowing them to contribute data for real-world problem-solving and discovery, which can ignite their enthusiasm for science.
- Creating local and global connections between students and the natural world.
- To engage in the Cornell Lab of Ornithology’s participatory science projects, it is best if your students can comfortably identify several local birds. If they need practice in identifying birds, use the Bird ID Spark Guide to build their bird identification skills prior to engaging in this participatory science project.
- Create a Cornell Lab of Ornithology account, if you don’t already have one.
- If you want to learn more about eBird, take the free, online eBird Essentials course.
- Identify the area you’ll take your students birding and can conduct a stationary count (one where you stay in the same spot the whole time you are birding, rather than walking as you bird).
- Cue the You Can Do Participatory Science video.
- Cue the Introduction to eBird video. For younger students, you may chose to skip this video or you may want to stop the video at 1:36
- Gather materials
- Either devices with the Merlin Bird ID app or field guides
- Tally sheets, pencils, and clipboards for the bird observations
- Binoculars, if available
- Cue the eBird website to submit your count.
- Cue the eBird live submission map.
Introduce Participatory Science and eBird
Share the You Can Do Participatory Science video to introduce your students to the concept of participatory science. Once the video is finished ask students to describe in their own words what participatory science is. For older students, have them write out their definitions and then ask a few to share their definitions. For younger students, work together as a class to develop a working definition. Share with your students that now they get to engage in participatory science, helping scientists gather data to answer big questions! Play the Introduction to eBird video so they understand the project that they are collecting for.
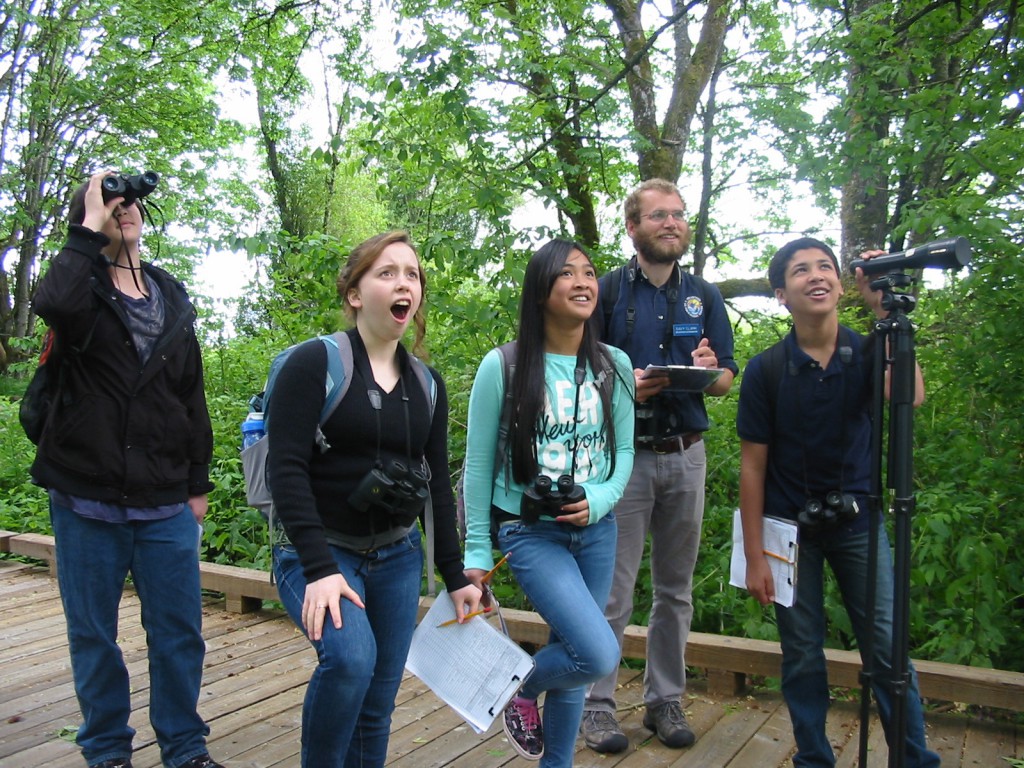
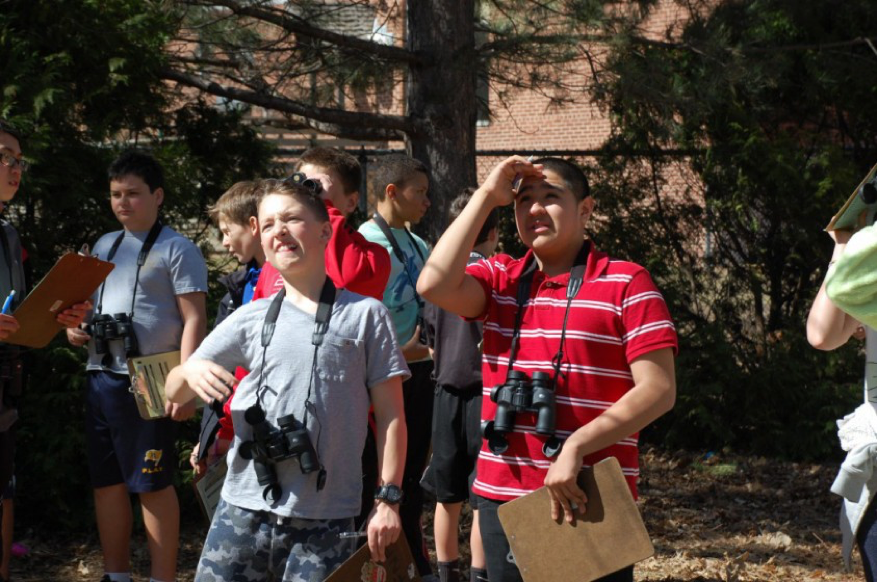
Divide your students into the pairs or groups they will be working in. Provide them with either the Merlin Bird ID app or field guides, tally sheets, pencils, clipboards, and binoculars (if available). Remind them of any guidelines you have for outdoor learning, how long you’ll count birds, and that observations include both seeing and hearing birds.
Let them know the best practices for counting birds for eBird (see this FAQ for more details). Because you are conducting a stationary count, let them know that they’ll write down the species name and keep track of the greatest number of birds observed at one time. The reason for recording the greatest number at one time is so that birds are not double-counted. eBird wants the best estimate for the number of individual birds identified. For example: If I see a Blue Jay and count it during the first minute of observing, then I see another Blue Jay at 3 minutes in the same area, I assume that the Blue Jay is the same bird rather than counting two Blue Jays. However, if I see two Blue Jays at the same time – one up on a branch and another flying between trees, then I record two Blue Jays. The same is true for birds that students observe through sound. If they can distinctly hear two birds, record two but if they hear a song, then there’s a pause, and then they hear the song again from the same general area, they will count only one bird.
We recommend the following guidelines to have a successful observation period.
- Bird in the same general area and give each group some space to talk quietly among their group without disturbing others.
- Make sure you keep track of the amount of time and total number of students. Have each group record the time they start observing and stop observing on their tally sheet.
- Give students at least 10 minutes to make observations but if they are engaged and you are able, extend this time to get them excited about birds and collecting data.
Submit Your Class Observations to eBird
After the bird count is complete, summarize all the students’ data into a single count that you will submit to eBird. To summarize everyone’s observations, start by asking one group to name one species and the number of birds they observed. Ask the other groups if they observed that bird and how many birds they observed. If most observed the species and the same number, pick a new group and repeat the process with the next group. If there is not a consensus on the species or number, work with your class to come to a consensus (see Submit an Accurate Count section). Then continue tallying the species and number of birds identified, until no new birds can be added. Now you’re ready to submit your list to eBird.
To submit your observations to eBird, sign into your account and then follow these steps on the eBird website:
- Enter the state in “Find it on a Map” box, which will load a map.
- In the “Zoom To:” box at the top of the map, enter the location’s street address. And the map will bring up that location.
- Zoom into the location, placing the mouse at the location where you went birding, and then click. This places a marker on the map and you’ll be asked to “Enter Location Name” to the right of the box. For example, you’ll use “Kipps Elementary Schoolyard”. Click continue.
- Record your Observation Date and Observation Type on the next screen. You’ll choose stationary (assuming you all stayed in the same general area and you didn’t walk around much).
- Answer the questions of Start Time, Duration, and Party Size. Click Continue.
- Then you’ll start entering the birds you observed. The list is arranged by family and you can scroll down the page or to the right of the list, you can start typing in the bird name and pick it when it comes up and the page will jump to your bird. Then enter the number observed by the class (see Submit an Accurate Count box).
- Once all birds have been added to the list, answer the question: “Are you submitting a complete checklist of the birds you were able to identify?”. Usually, the answer to this is Yes. If you’re not sure, click on the “?” next to the buttons.
- As soon as you click the Submit button, toggle over to the Live Submission Map to see your location light up.
CONGRATULATIONS! You and your class have just engaged in a participatory-science project. The data you submitted now goes into a global database where anyone can use your data to answer questions. To learn more about the science being done with eBird data observations explore the eBird Science website.
If all the groups observed American Crows but one group observed 4, another group observed 5, and a different group observed 3, use your judgment to choose which count to accept. We recommend taking the average. If, however, one group has listed drastically more birds than you or other groups saw, investigate it further by asking questions such as: “When in the count did you observe them?” “Did everyone in the group observe that many or just one person?” “Where in the sample area did you observe them?” You may still want to choose the conservative estimate. Remember, eBird wants the most accurate information not the highest number. Another example is this: If students keep observing an American Robin fly back and forth from the same spot, it’s likely the same American Robin. So you’ll only count it once, not the five times it flew to and from the same spot.
While participatory science can help scientists answer big questions, it can also spark student questions and investigations. To further develop their science skills, nurture their curiosity, and guide them through their own investigations, download the Students as Scientists resource. This grade-banded resource offers lessons, slides, and handouts designed to help your students ask and answer their own questions, making authentic science accessible in your classroom. Students will explore the science process, from making observations, posting questions to the Wonder Wall, to data analysis and sharing results.
Like eBird, other participatory-science projects offer a structured introduction to scientific research and are a great way for students to explore their interests. If studying birds is not for your students, hundreds of other projects can spark students’ curiosity. Scistarter.org offers a searchable database of participatory science projects; you can search by grade level, location, and topic to find the right project for your students.
Birds grab our attention with their flight, songs, and feathers. Plus, they are everywhere and easy to observe in every season. While there are more than 11,000 bird species worldwide, with unique appearances and habits, the magic of Merlin will guide you in identifying your local birds quickly and easily. Merlin uses your location, date, artificial intelligence, and big data to help you identify which birds you’re seeing and hearing. Identifying your local birds is a great way to connect to your local environment.
- Install the Merlin Bird ID app in 3 easy steps on all devices:
- Download the Merlin Bird ID app.
- Register with an adult’s email address you can verify. The same email can be used to verify the app on multiple devices. Note that Merlin is not COPPA compliant so an adult’s email address is required to download and register the app.
- Open the app to install your regional bird pack and enable location services while using the app (this is necessary for accurate bird identification).
- Identify where your students will go birding.
- Cue the Merlin video. Plan to stop the video at 1:23 and have your students practice the Sound ID following what they just watched. Then continue the video.
- Cue one of the two Rock Pigeon sound recordings; make sure that when you play it the name of the bird is not shown
- Cue the Mourning Dove picture, making sure the name is not visible.
Share with students that millions of people all over the world love observing birds. Many of these people enjoy challenging themselves to see how many different kinds of birds they can observe. Every time they see a species for the first time, they add it to their life list. Share with students that they’re going to have the opportunity to start building their own life lists and will get to see how many species of birds they can discover in their own neighborhoods. The first step is learning to identify birds and they will get to use the magic of Merlin to help them.
Practice Using Merlin
Divide your students into the pairs or groups they will be working in. Introduce your students to Merlin and how to use Sound ID by playing the Merlin Bird ID Demo from the Cornell Lab of Ornithology video; you’ll want to stop the video at 1:23. Now, you’ll have them practice using the Sound ID function. Ask them to open the app and start the Sound ID function by pressing Sound. Play the Rock Pigeon sound you have cued while they use the Sound ID within Merlin to determine what bird they are hearing. Once they have a positive sound id, have them listen to the sounds provided in Merlin to make sure it’s the correct bird, just like they saw in the video.
Once they’ve explored the Sound ID feature, you may choose to finish the video so they can see some of the other features of Merlin.
The video does not explain the Step by Step identification process so next, you’ll walk them through this function of Merlin so they can also identify birds they see. Show the Mourning Dove picture, ensuring the name isn’t revealed yet. Then have them answer the five questions to the best of their ability and Merlin will provide a list of possible birds.
- Where did you see the bird? If you live in the US, you can choose your current location because these birds are found throughout the US.
- When did you see the bird? This bird is found year round in most US locations. However, if you live in MT, ND, SD, WY, MN, or northern WI, please choose June 1 because they are only found in these areas during the breeding season.
- What size was the bird? Ask them to choose the size using their best guess using the fence in the picture as a guide. The size is classified as “Robin-sized” in Merlin.
- What were the main colors? Have them choose the main colors they see. You can choose up to three colors, but can choose fewer (gray and buff are good choices for the Mourning Dove).
- Was the bird…? Based on the picture they should choose “on a fence or wire”.
Once they have their list of possible birds, ask them to look through their list and decide which bird they are seeing. Encourage them to click on the bird and look through the additional pictures, learn about the bird by scrolling down. They can even listen to bird sounds. When all the groups have arrived at an identification, reveal the bird’s name. Then invite students to share any challenges they experienced and how the step by step identification process worked for them.
If students need more practice using either the sound or step by step id functions, use other local bird sounds and images you find using the Cornell Lab of Ornithology’s online field guide. All About Birds.
Build a Life List
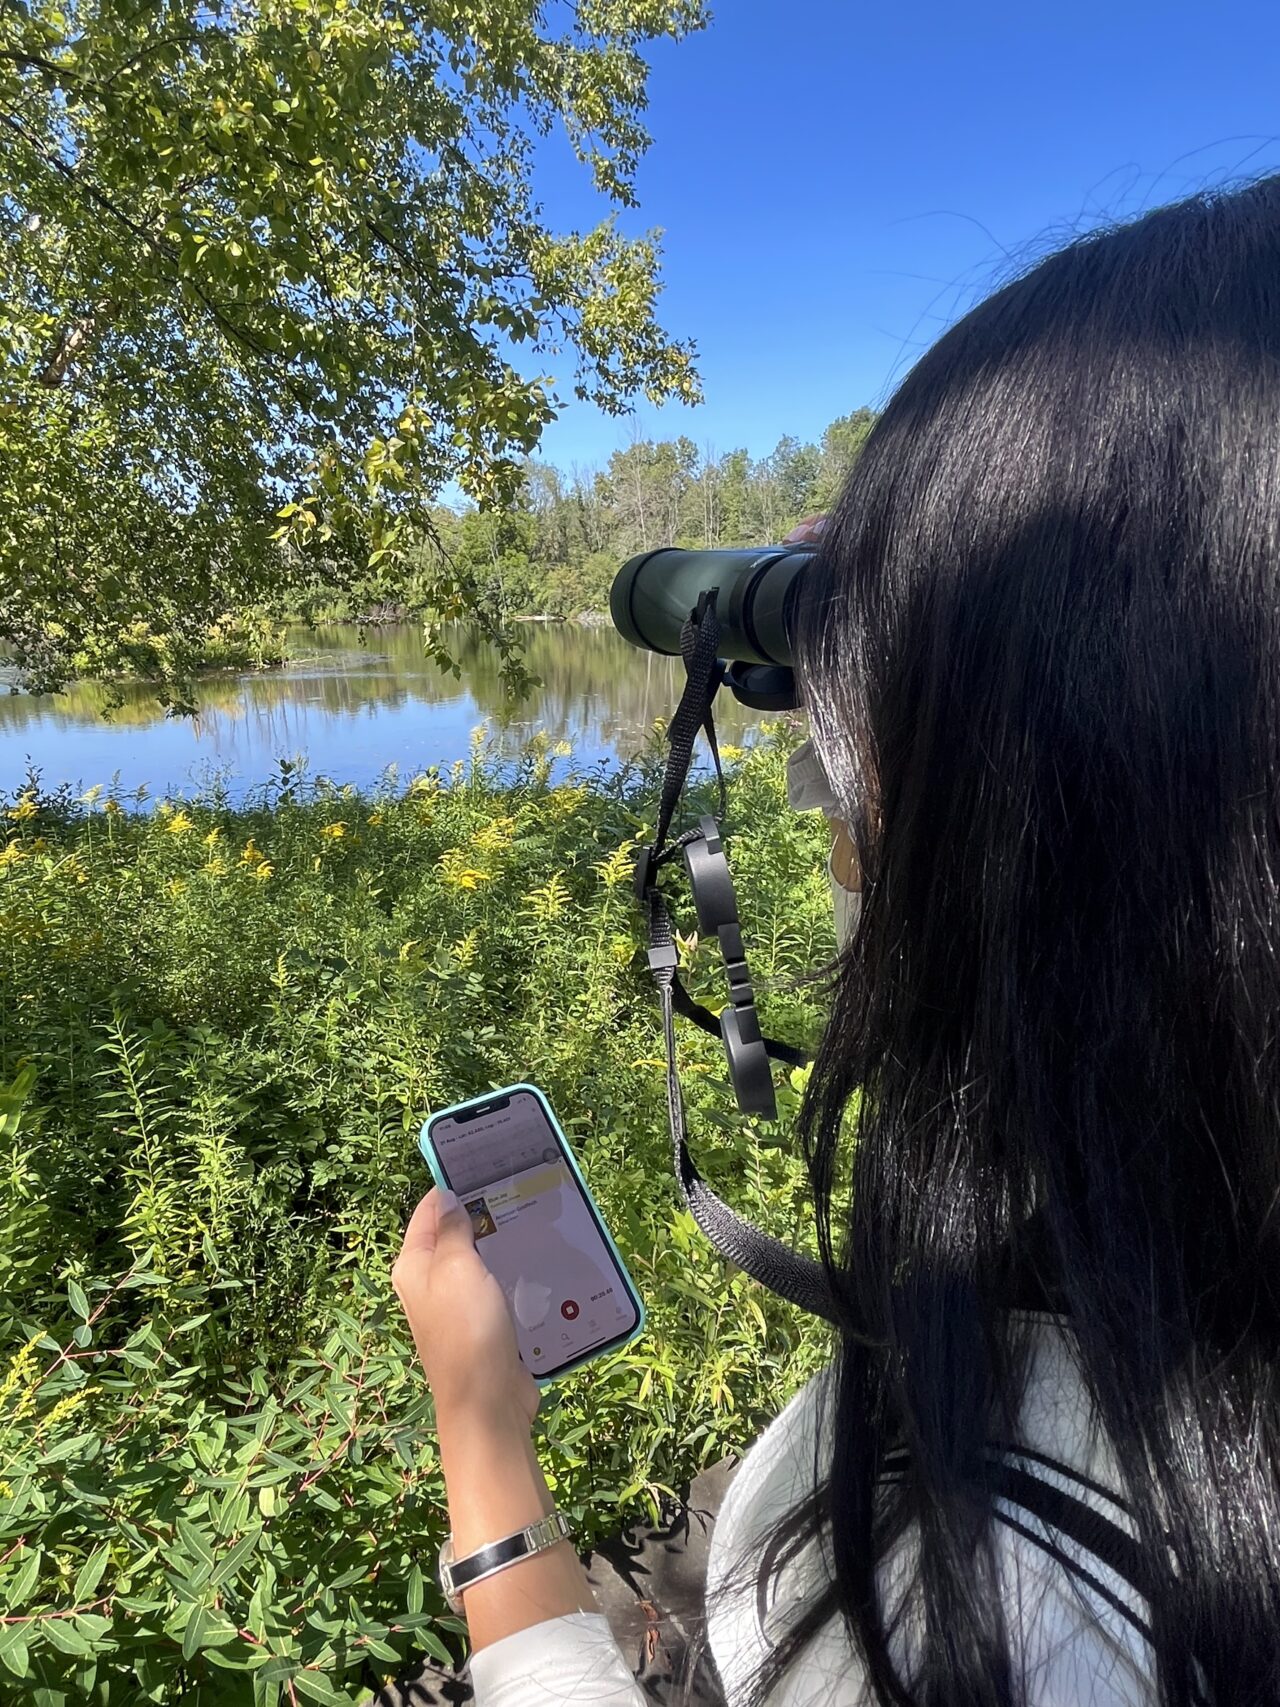
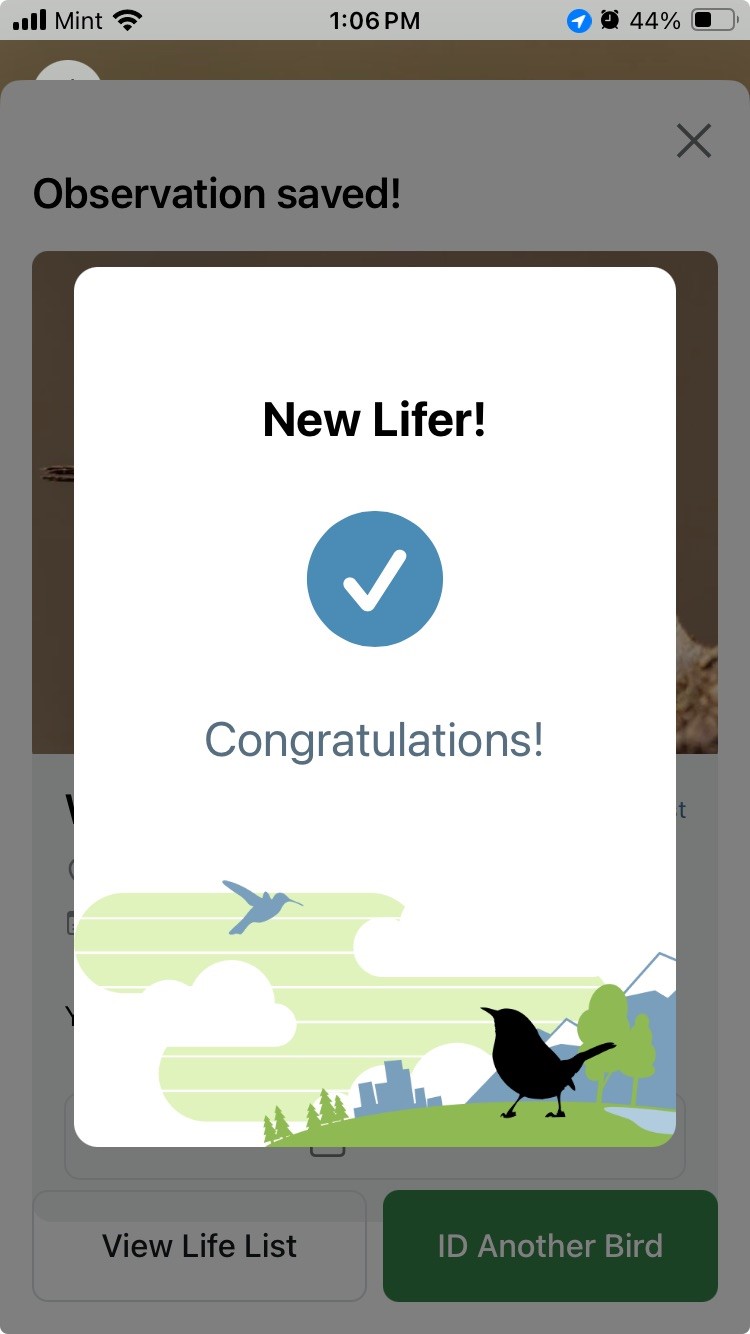
Once your students feel comfortable using the Merlin app, take them outside to observe and identify birds using the Merlin app. Set or review any guidelines you have for learning outdoors (see teacher tip box). Each time their group successfully identifies a bird, have them click the “This is My Bird” button. Then choose, “Save with Merlin” button and answer the questions about where they saw the bird. If this is a new bird for the account, they’ll see the “New Lifer!” image (see screen image on left). Then keep birding and adding to their life list!
- Establish expectations. Co-develop an outdoor community learning agreement with your students. Before you go out, talk to your students about ways to minimize their impact on nature (for example, not picking live plants or disturbing animals), boost safety (for example, staying together as a group), and help each other discover fascinating things (for example, staying quiet or whispering to their peers).
- Provide roles. Develop tasks to keep students engaged and empowered, such as carrying supplies, keeping track of the time, or watching for ways to minimize their impact on nature.
- Use observation cues. Before you go out, teach younger students about deer ears (cupping their hands behind their ears to better funnel in sounds), owl eyes (making binoculars with their hands or old bath tissue rolls), fox feet (walking quietly and slowly, as if stalking prey), and bunny noses (wrinkling up noses and sniffing all around). Encourage older students to engage their senses during observations: What can you see? What do you hear? How does it feel? What does it smell like?
Using Merlin can spark students’ curiosity about local birds. You can harness this interest by capturing student questions to explore further on a Wonder Wall. For example, they might wonder if they’ll see the same birds next week or next month that they saw during their initial observations. If so, consider conducting bird observations once a week and then compare your observations.
As questions arise during their observations, invite students to post them on a Wonder Wall. The Wonder Wall provides a space to collect and display student questions that you can revisit, answer later, or turn into investigations. Designate a space for your Wonder Wall and encourage students to write their questions on sticky notes and post them there.
To further develop their science skills, nurture their curiosity, and guide them through their own investigations, consider using Students as Scientists. This resource offers lessons, slides, and handouts designed to help your students ask and answer their own questions, making authentic science accessible in your classroom. Students will explore the science process, from making observations to data analysis and sharing results! The Students as Scientists resource is available for the K-5 and 6th-12 grade bands.
These resources were developed with the generous support of our sponsors: